Well, we're one day into the Gallery Idol competition...did you vote yet??!?!?

GO HERE TO VOTE!!!
My card is entry #6 *wink wink*


My card is entry #6 *wink wink*
As you might imagine, my memory for this past weekend is just one big haze of DIY embellishments. I went through several other ideas before I landed on the "Yoga Card" that I entered!
The good thing about this is that I had a few options to choose from. The bad thing is that I had a few options to choose from.
I went back and forth about which to enter...until finally I was so exhausted that I went with the card that I thought was most unique!
Now that the Yoga Card is out there for all to see, I thought I might share the projects that ended up on the crafting room floor!
This card was the first I made. When I found out the theme was DIY Embellishments....I immediately thought "flowers"... and I went to work making these fabric flowers with covered button centers.
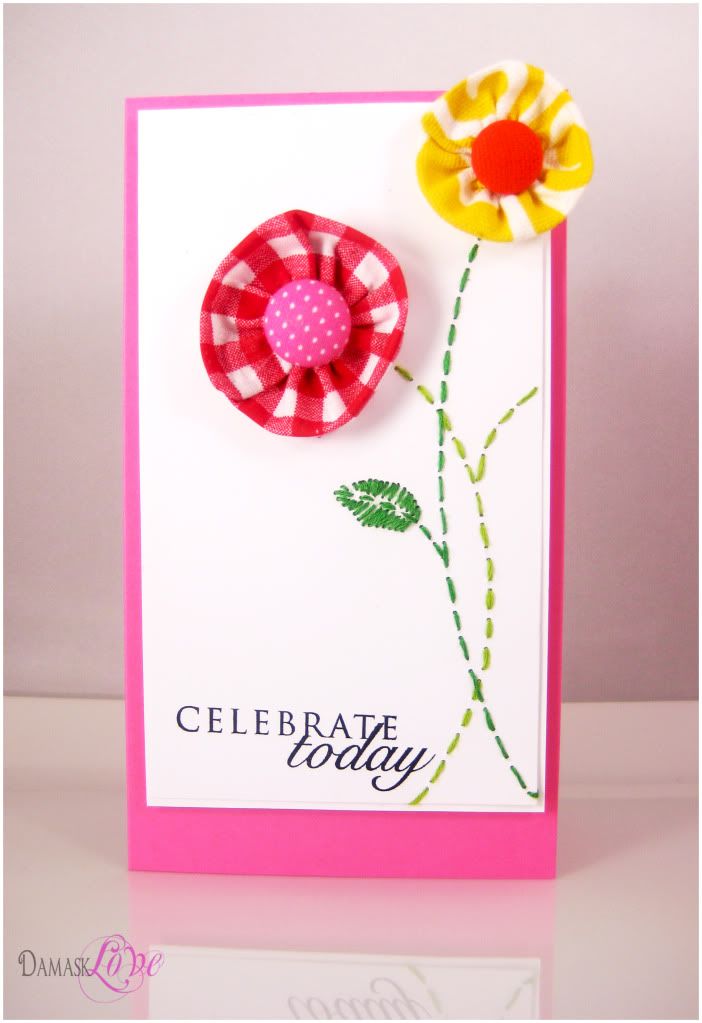

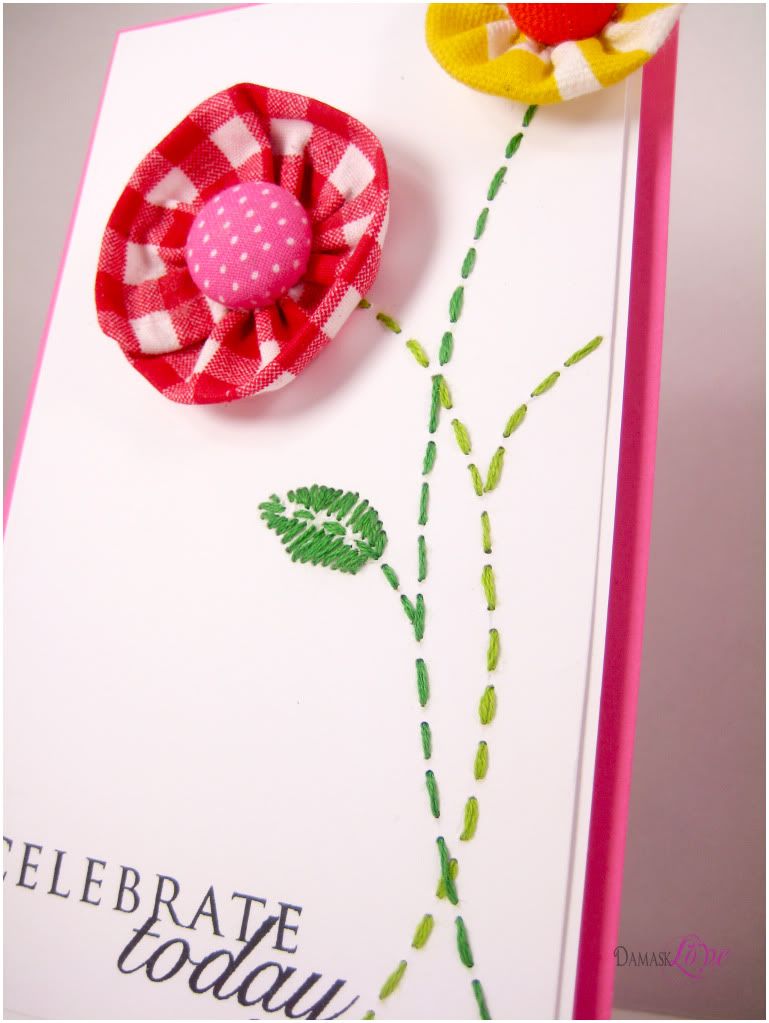
I embroidered the stem and leaf by first drawing them in pencil, then following the lines with needle and thread. It was a fun and different way to create the image!
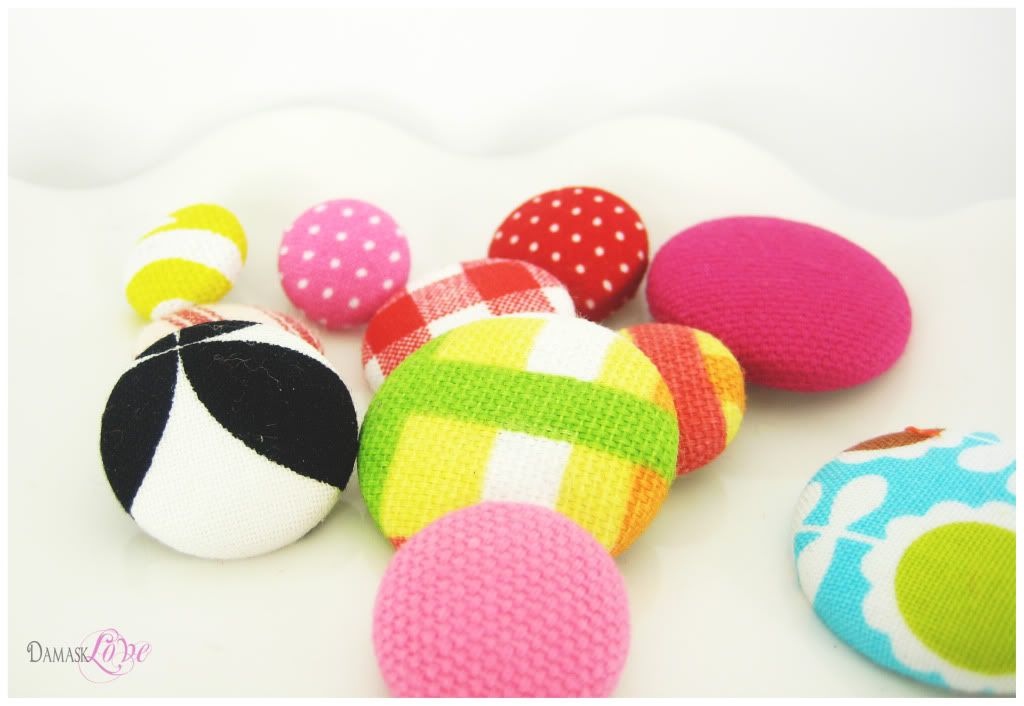
Making the flowers is easy too...I started by making a bunch of covered buttons. Now, I typically do not intend to enable you to go out and make craft purchases, but today is different. You NEED to go out and get a covered button kit! They are so fun and easy to use!!
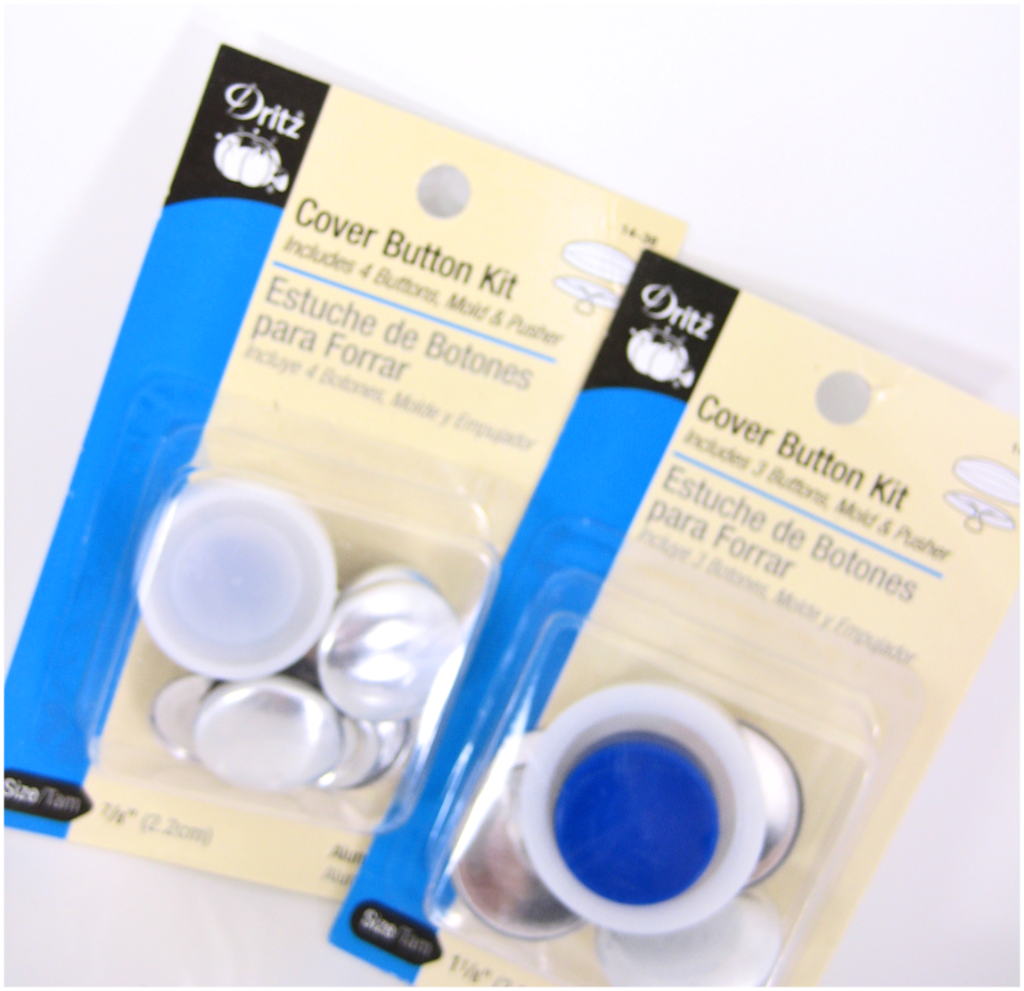
You'll find them at Joann's or any other fabric store for next to nothing! Mine cost $2.00 each!!!
Here's a quick toot on using these puppies:
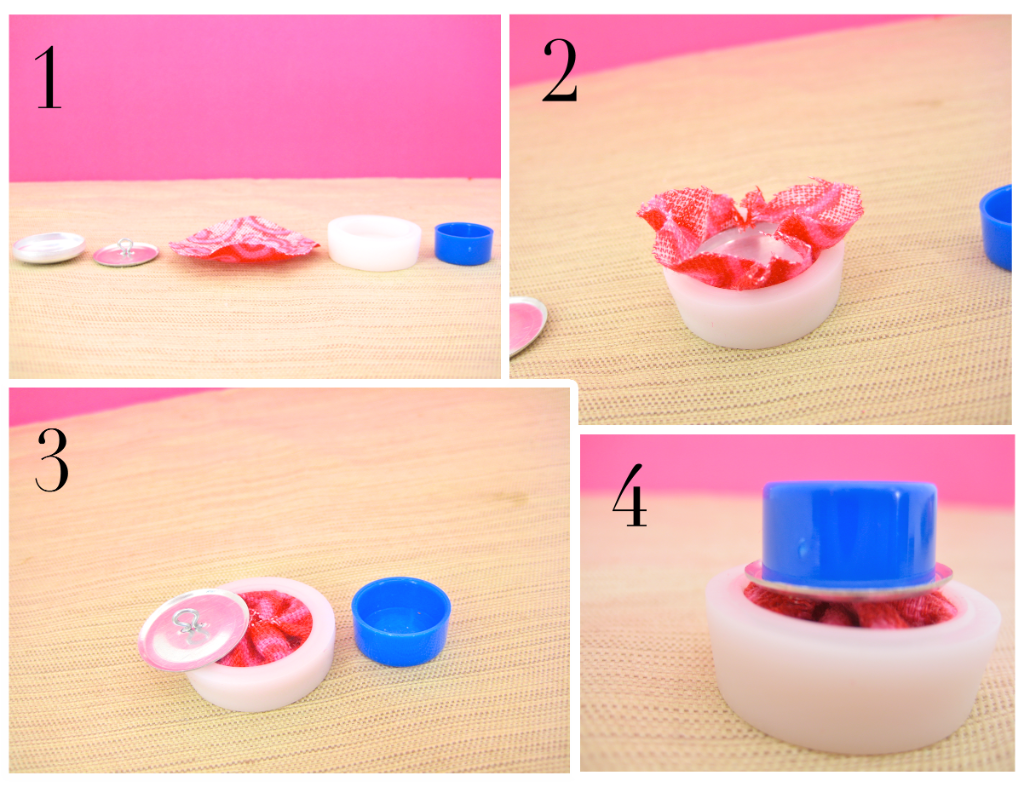
1) Cut a circular piece of fabric. The size of the circle will depend on the size of the button you are making. Each kit comes with a template for measuring the correct circle size.
2) Place the fabric, wrong side up, into the white part of the button maker. Push the button front face-down over the fabric.
3) Fold the fabric edges into the button front and place the button backing on top.
4) Using the blue part of the button maker, push downward on the "button sandwich" until you feel a gentle snap.
A few minutes later, you'll have a cute little pile of colorful embellies!
The fun doesn't stop there though! Next I made a few fabric flowers. You've probably seen this before, but for the sake of being thorough...here are some pics:
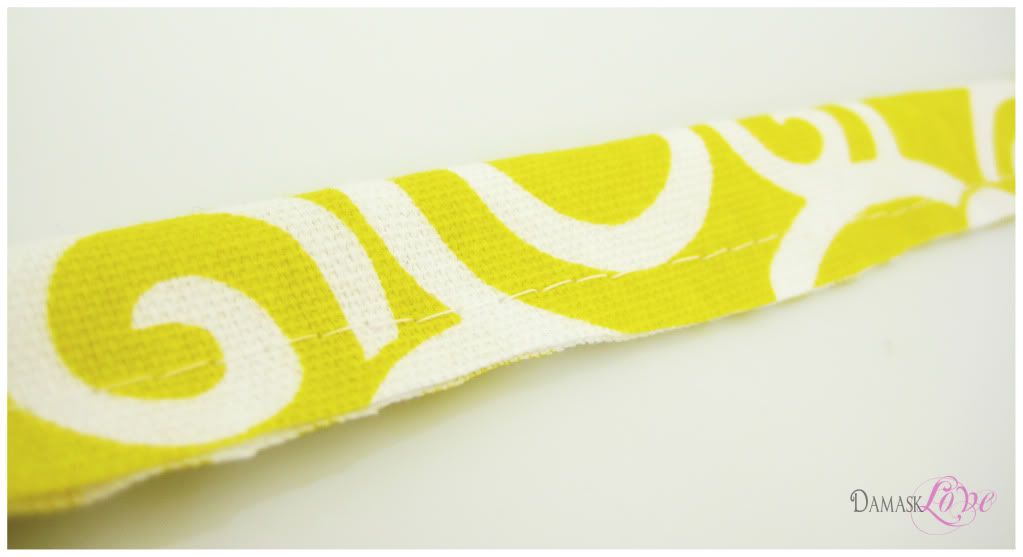
Fold a long piece of fabric in half (approximately 14" x 3") and
with your sewing machine set on the longest stitch length stitch the edges together.
with your sewing machine set on the longest stitch length stitch the edges together.

Pull the bobbin thread (the bottom one) and push the fabric to create a ruffled look.
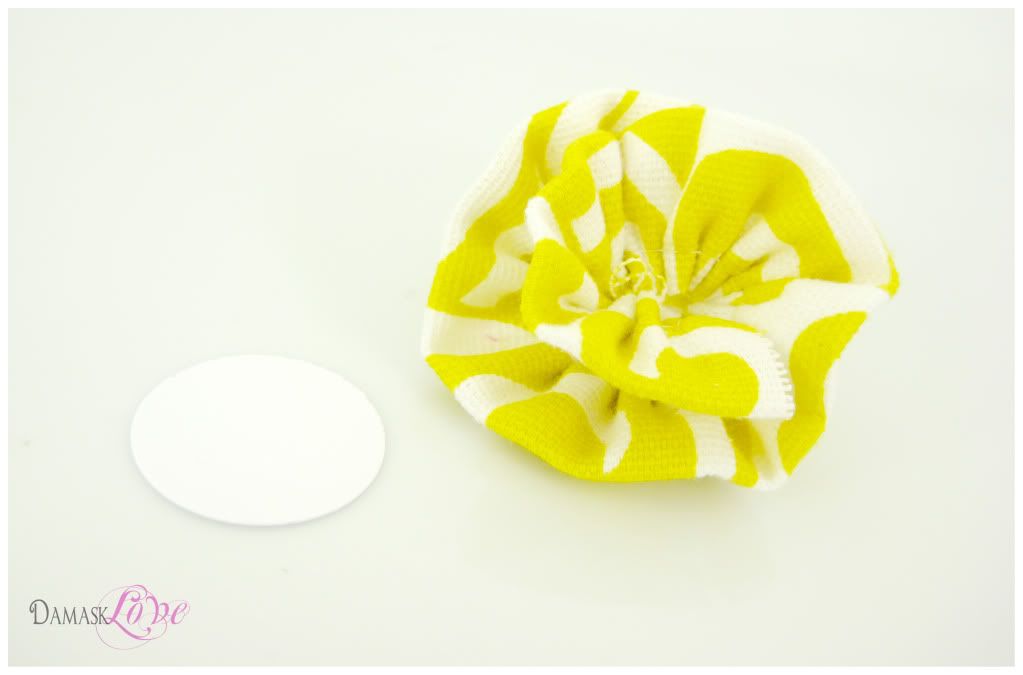
Cut out or punch out a small circle from paper...
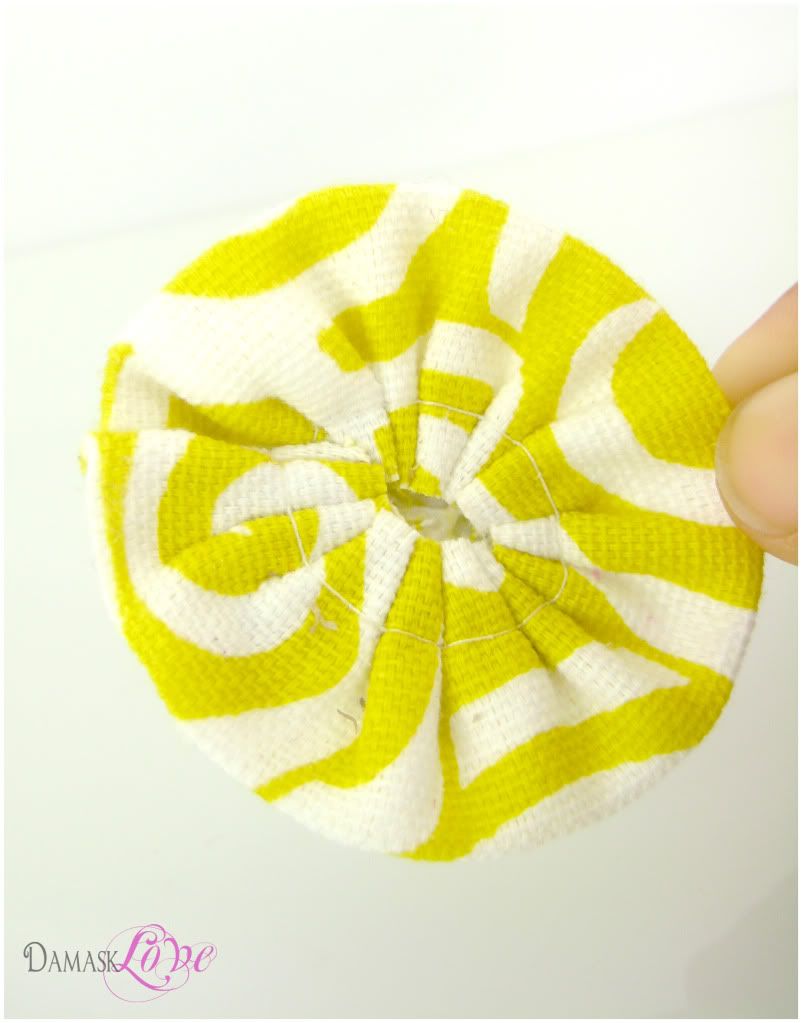
Adhere the ruffled fabric to the punched circle then
use a hot glue gun to adhere the fabric button (not shown)
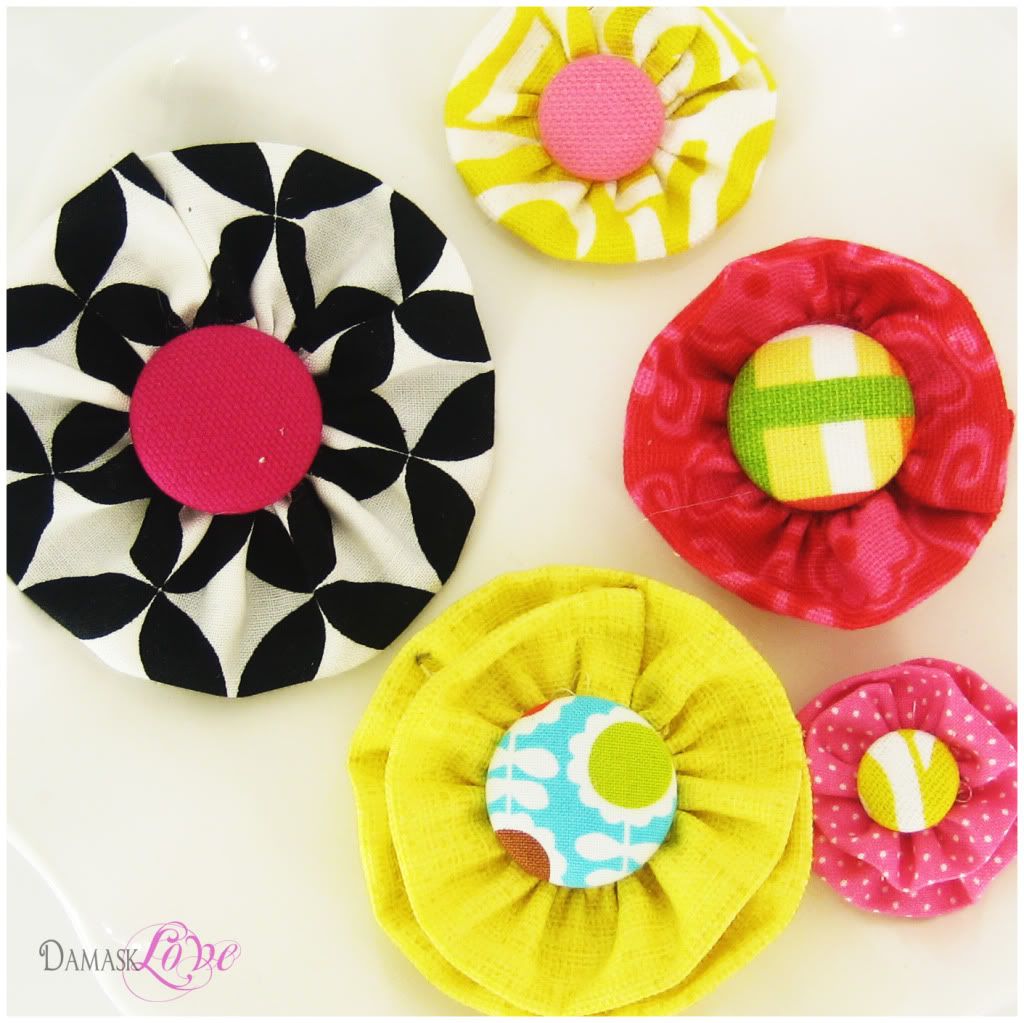

Who doesn't love a little pile of bright and cheerful fabric flowers!?
With these done...it was just a matter of placing them on the card and stamping a simple sentiment!


I can't wait to use the rest of those little flowers! I'm envisioning sweet little headbands, sassy brooches and maybe even a cute ribbon belt with flower accent!
Thanks for stopping by for some Damask Love...now go VOTE VOTE VOTE in the Gallery Idol competition!!!!
See you tomorrow with another DIY Embellie reject!!
Oh wow Amber! I don't think you would have gone wrong with this one that's for sure! So bright and fun and those flowers are awesome! You are one crafty chica and if you don't win this contest I will eat my sock!
ReplyDeletethis one here is a beauty, too!! Either way, they both were awesome!!
ReplyDeleteThis card is no "reject"--it is really lovely!!
ReplyDeleteAren't you full of inspiration or what, Amber!? This card is so bright and cheery!! I tend to agree that your entry was definitely out of this world! Both are winners! No go do an Yoga pose--ommmmm.....r-e-la-x!
ReplyDeleteBeautiful and fun flower embellies! Love the stitched stems.
ReplyDeletegorgeous!! love the cheery colors!
ReplyDeleteFun! And oh my...if only my "rejects" looked this fabulous. :D
ReplyDeleteLove the bright colours and clean design! And I'm glad you're able to make use of your "reject" embellishments. :)
ReplyDeleteMust. Try. This. Heck yeah! Those buttons are MAGNIFICENT!!! They make my heart beat just a little bit faster :) WOW! Gorgeous card! Can't believe this is one of your "cutting room" cards! Amazing!
ReplyDeleteWow Amber this is so pretty! Love those covered buttons and those flowers are so stunning! I just wish my "rejects" look this amazing!
ReplyDeleteThese are so sweet and simple - you had lots of options, Amber - anyone of which would be a winner in my book! Love your work :)
ReplyDelete