Today's project is entitled "Gift Card" but you won't see anything in a credit-card shape, bearing a Target logo!
Instead, my interpretation is pretty literal: a card that also contains a little gift.
The project features a handmade barrette that I crafted after going on a bit of a button-making rampage!
Buttons seem to be everywhere in crafting! Recently, Papertrey Ink debut their Button Boutique stamp set and coordinating dies. Maile Belles did wonders with this set and really got my button-mojo going!
I recently made a discovery at Joann Fabrics that only contributed to my button obsession!
Have you seen these?
Covered Button Kits!?!
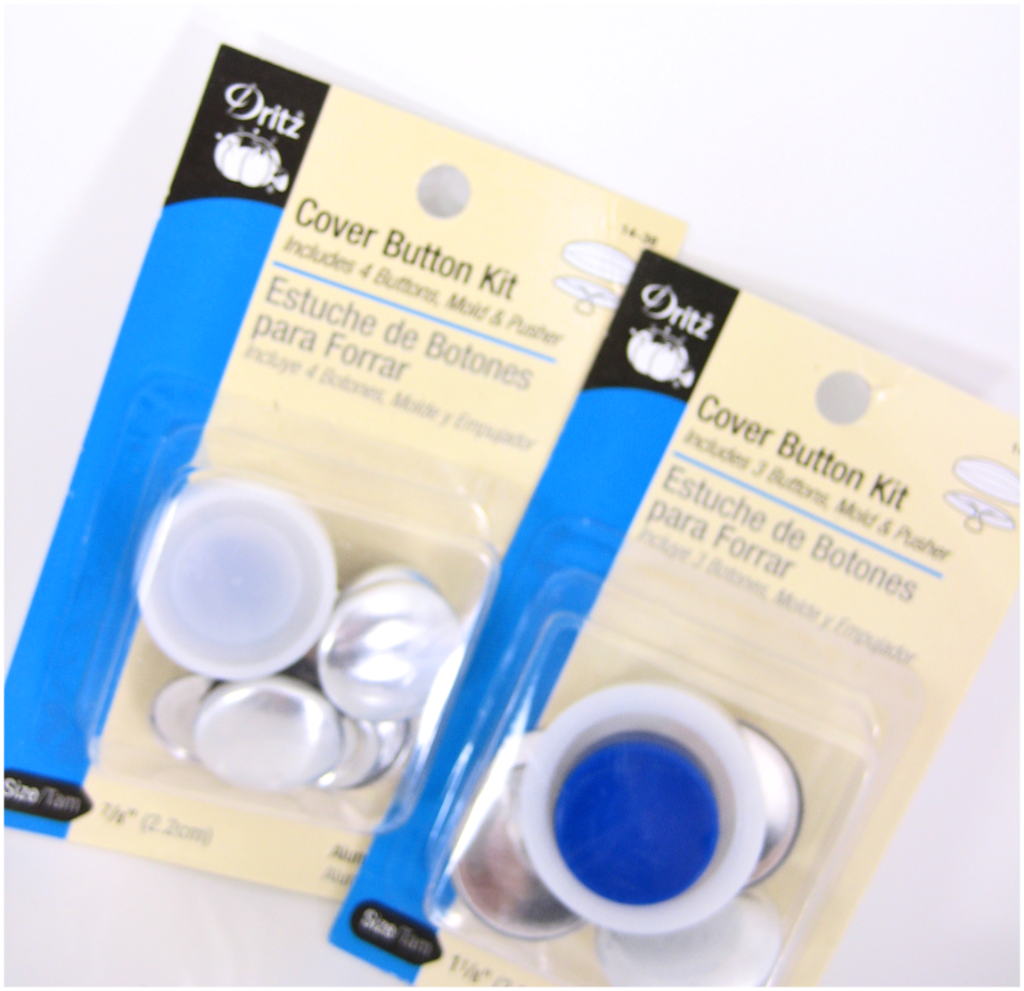
Cutest. Easiest way to customize buttons for any project.
Here's the step-by-step for using this kit:
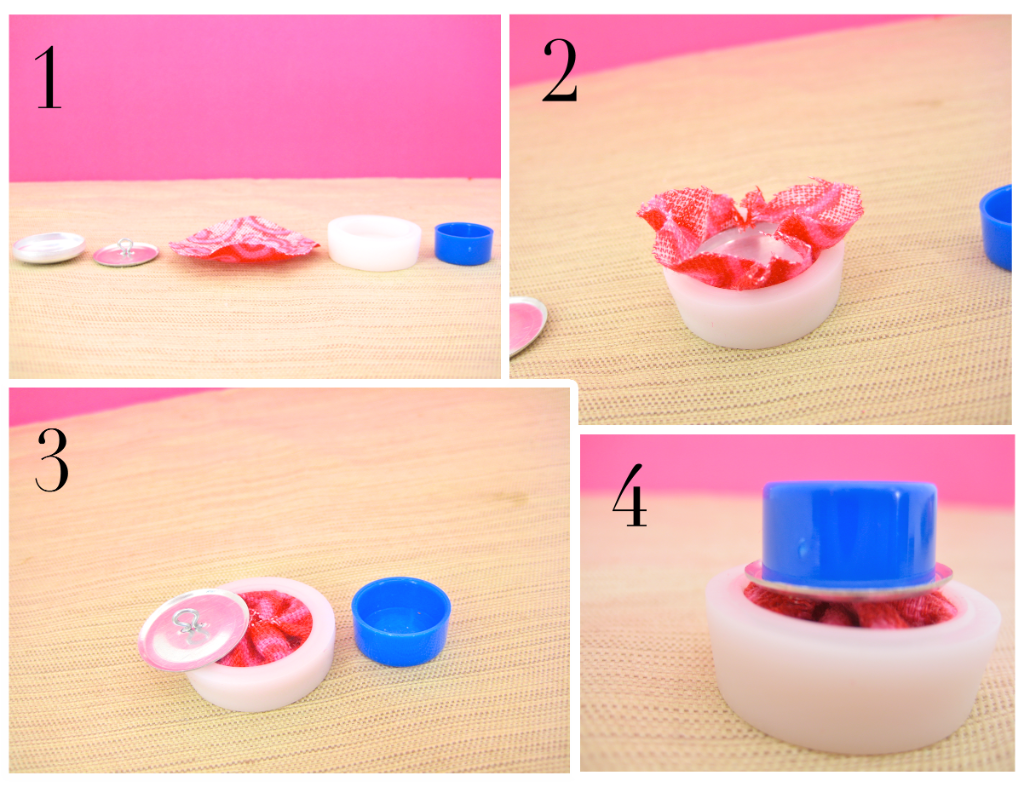
1) Cut a circular piece of fabric. The size of the circle will depend on the size of the button you are making. Each kit comes with a template for measuring the correct circle size.
2) Place the fabric, wrong side up, into the white part of the button maker. If you want to feature a part of the fabric on the button, be sure to center that portion appropriately.
Push the button front face down over the fabric.
3) Fold the fabric edges into the button front and place the button backing on top.
4) Using the blue part of the button maker, push downward on the "button sandwich" until you feel a gentle snap.
Super fast and simple!
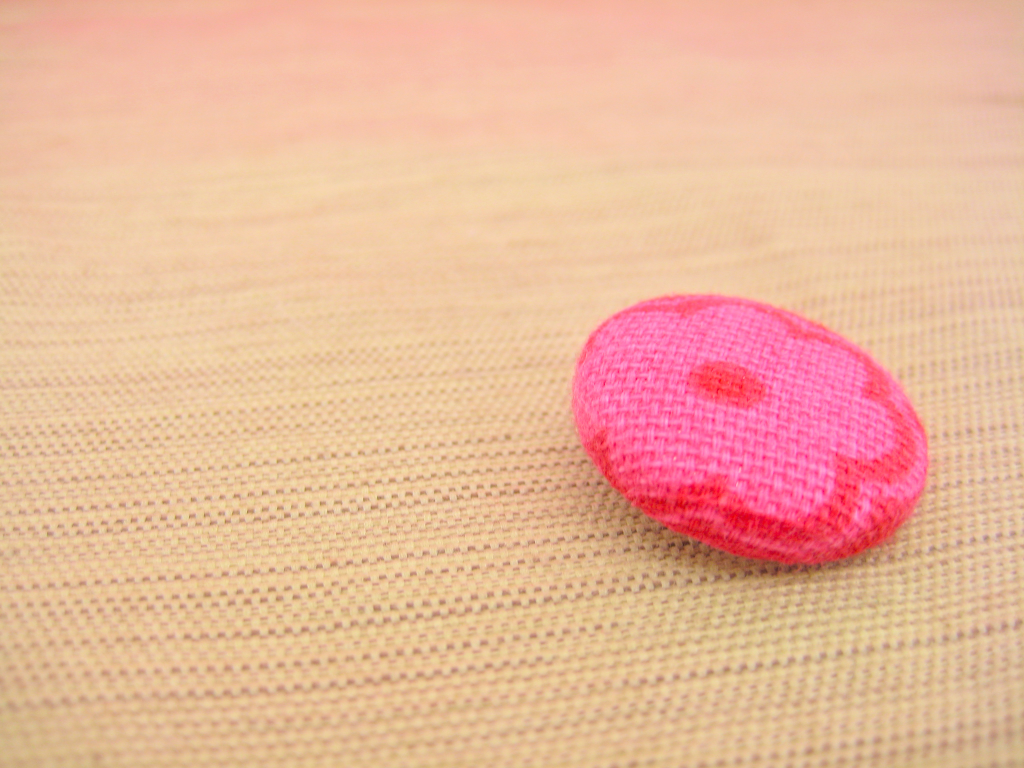
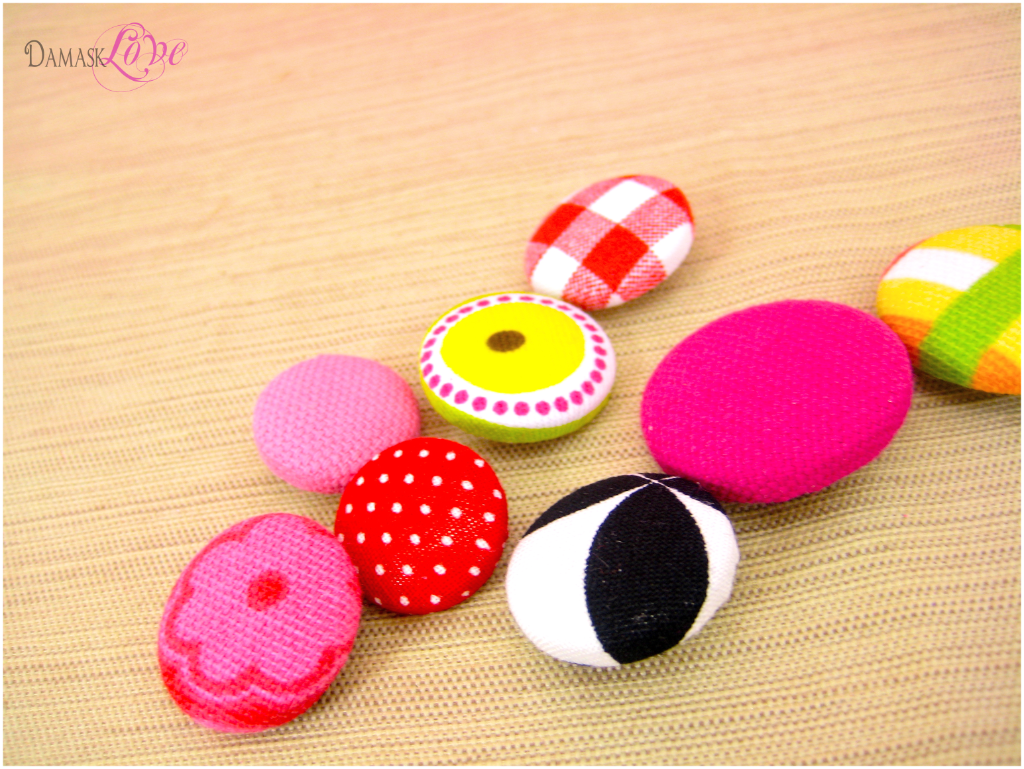
Here's the finished product - a great embellishment for any project!
With one done, I decided to tackle my pile of fun fabrics to make more of these beauties.
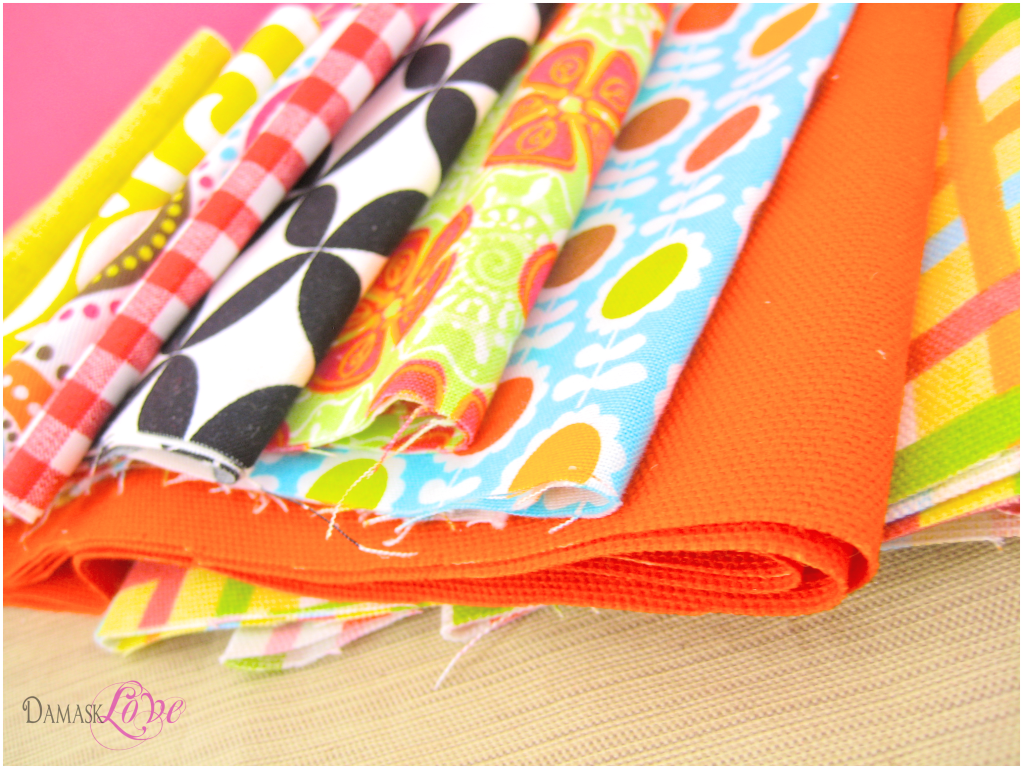
5 Minutes Later:
So what do all these buttons have to do with today's Gift Card project?
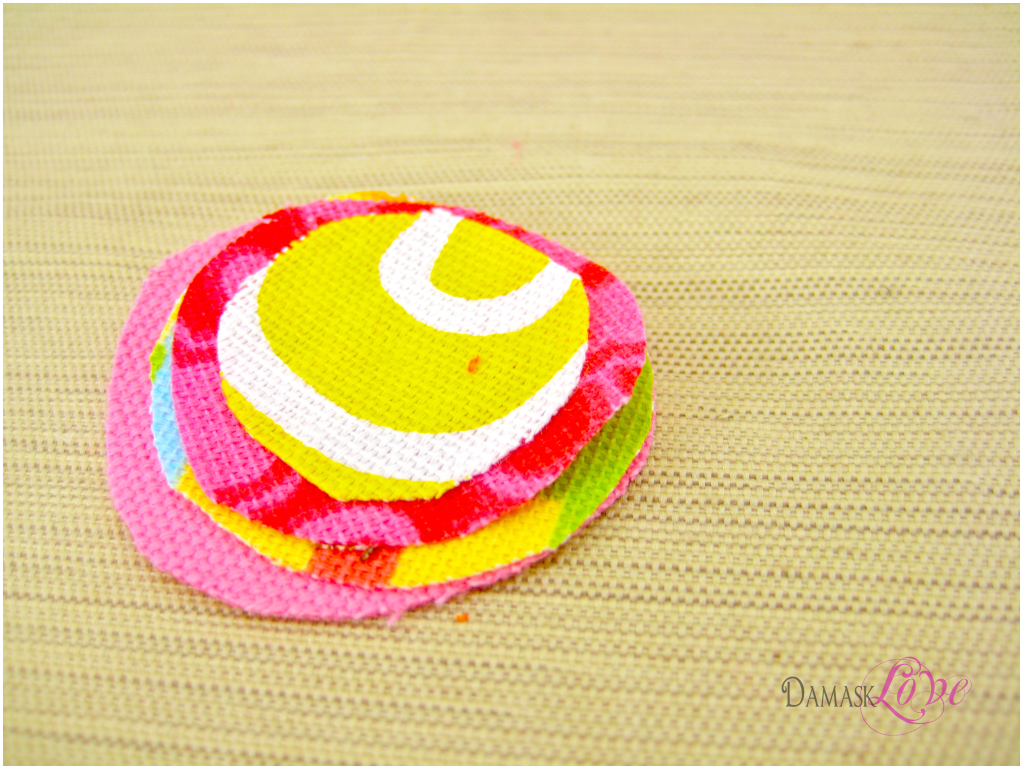
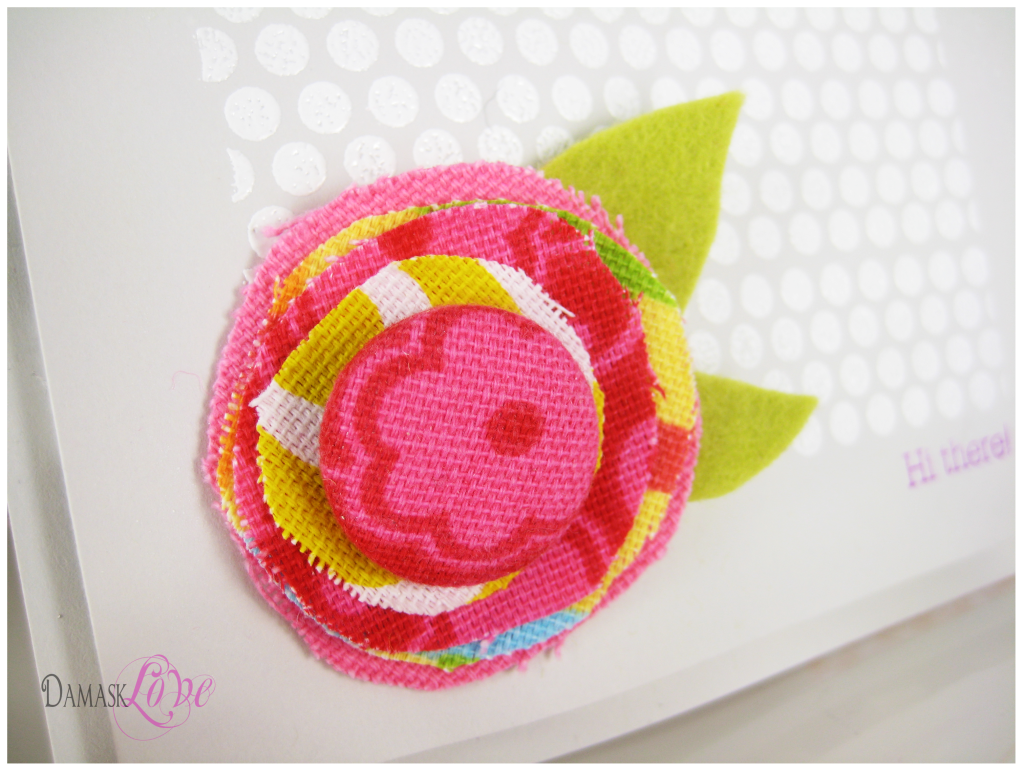
Well, I decided to make a cute little barrette with one of my newly made buttons.
I just cut out circles from my fabric and secured them together with the button.
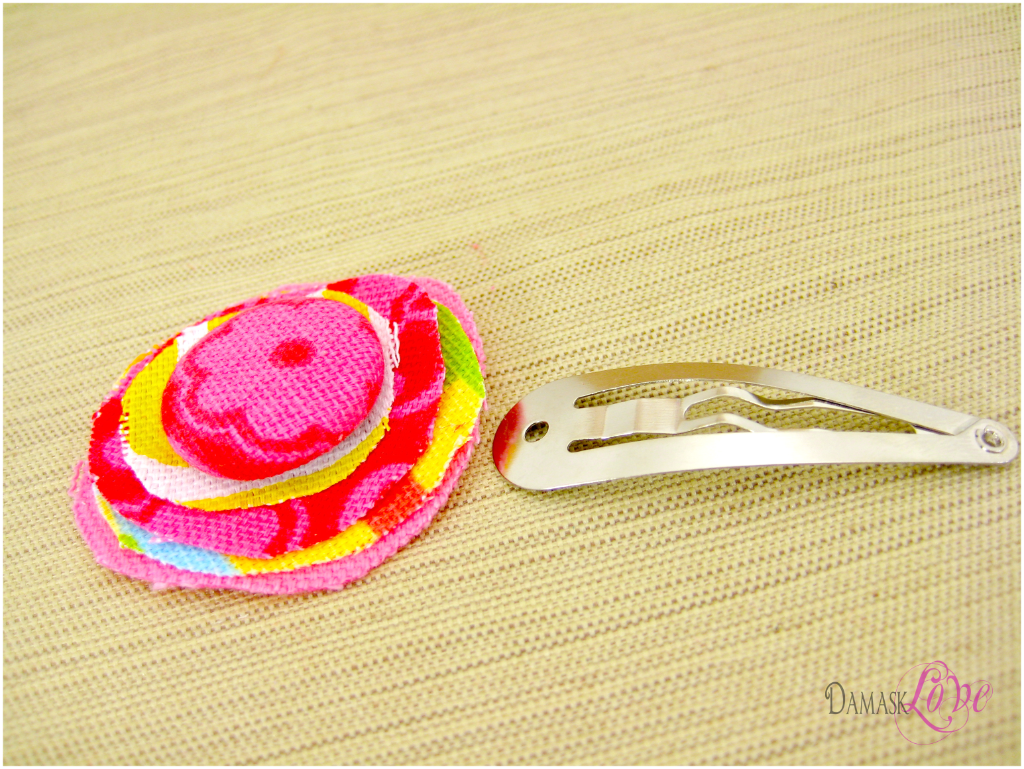
Then I attached the embellishment to a barrette.

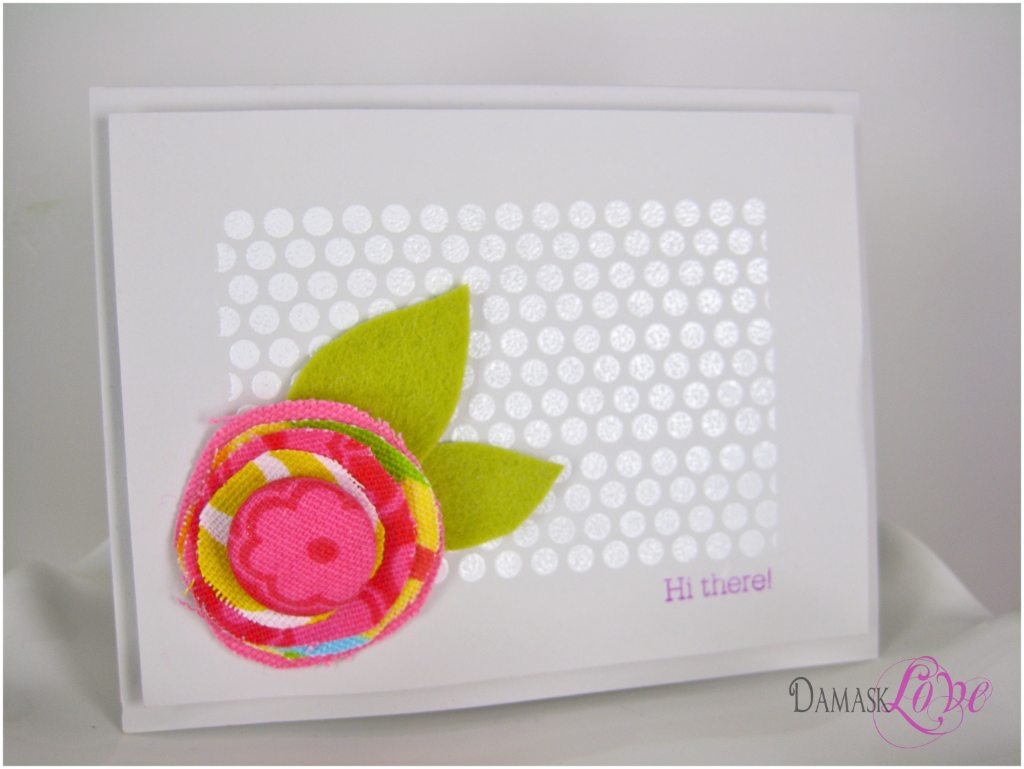
With the barrette complete, it was time to make this gift into a Gift Card!
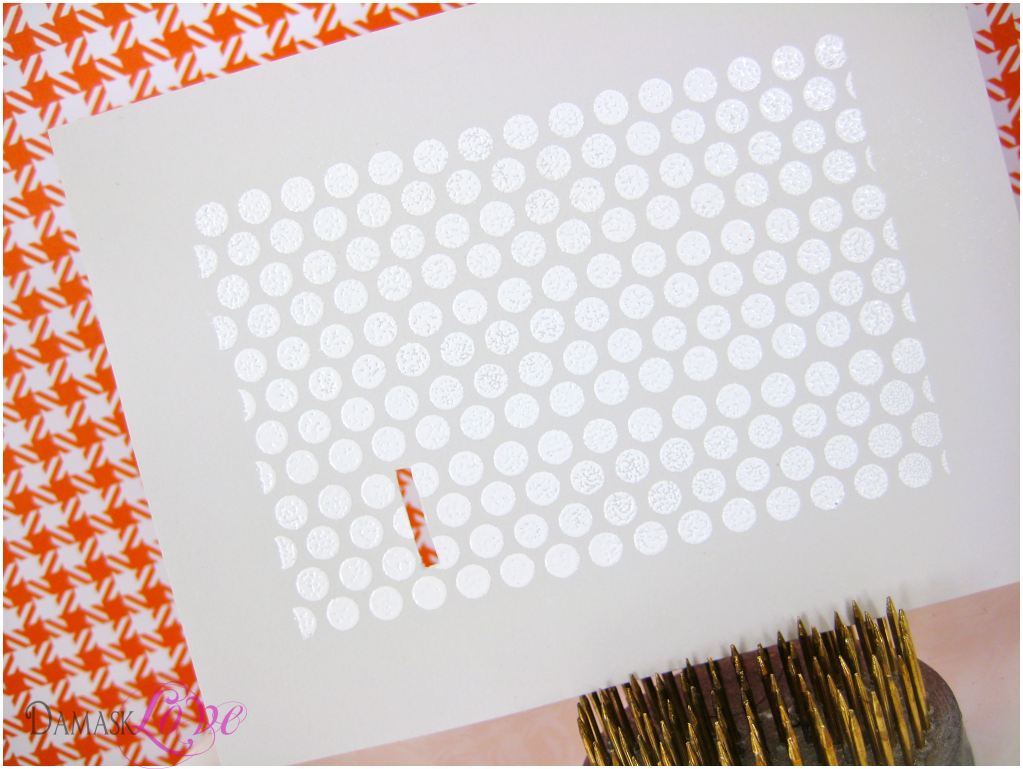
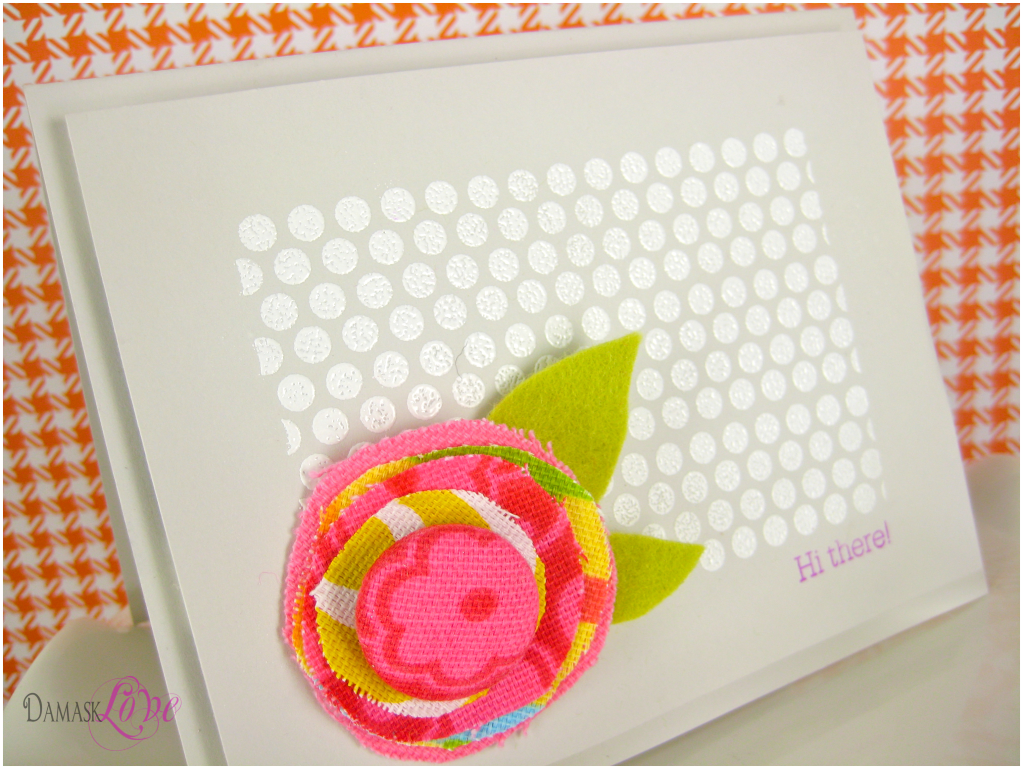
I first stamped and embossed a polka dot background onto Soft Stone cardstock.
Next, I cut a slit in to the cardstock - this is there the barrette will fit.

I added a couple of felt leaves to the flower embellishment, as well as a super simple sentiment.
I love this card, because it gives double duty to a fun, bright embellishment!
I hope you've enjoyed the project!
Feel free to email me with any questions!
Thanks for stopping by for some Damask Love!
Love those covered buttons! What a fun card too to put that adorable layered flower on! Awesome Amber!
ReplyDeleteoh-m-gee. Seriously? Seriously??? I need to take a trip to my local fabric store and see if I can pick up a button cover kit now. I swear every time I log onto your blog you have something that makes my eyes go wide. Amazing!
ReplyDeleteI see a trip to Jo Anns in my furture. These are so cute.
ReplyDeleteGreat idea! Cute barrette and great way to package it. Really wonderful!
ReplyDeleteThat's a great idea for the 'gift card'. I can see felt or a variety of other materials.
ReplyDeleteNow, what will you do with all of the covered buttons that you've made?
love 'em...looks like so much fun!
ReplyDeleteLove this. The buttons are fantastic. I think I have one of those covering sets around her somewhere...
ReplyDeleteTFS
Ang
Amber, you always come up with such awesome ideas. :) Love the pop of color on the card!
ReplyDeleteI came from Kara's blog. Now I'm going to JoAnn's. Wonderful job!
ReplyDelete