
Gonna play along with the current Embellish Challenge - and I've got lots to share. I hope you'll stick around for it!
The challenge is to use circles in the design along with the challenge colors of red, brown, white and green.
For my cards I got really inky. Matter of fact, these cards are all stamps...from the rooty to the tooty.
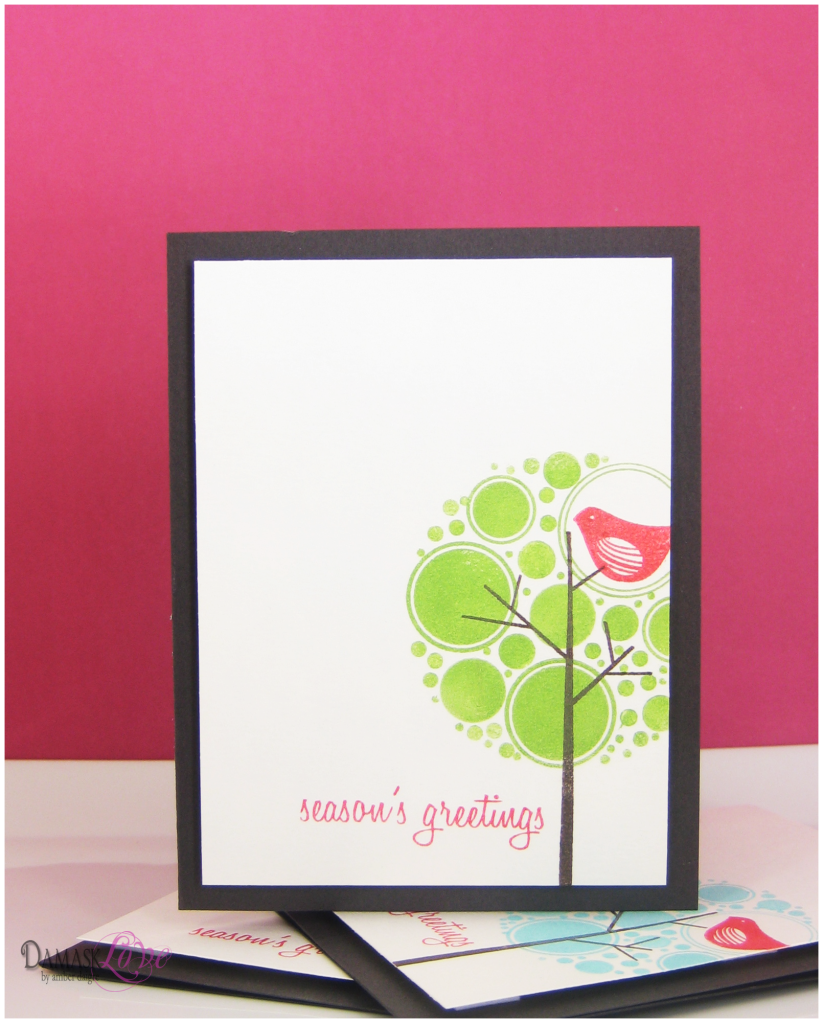
I went with this super mod look and I am loving every bit of it!
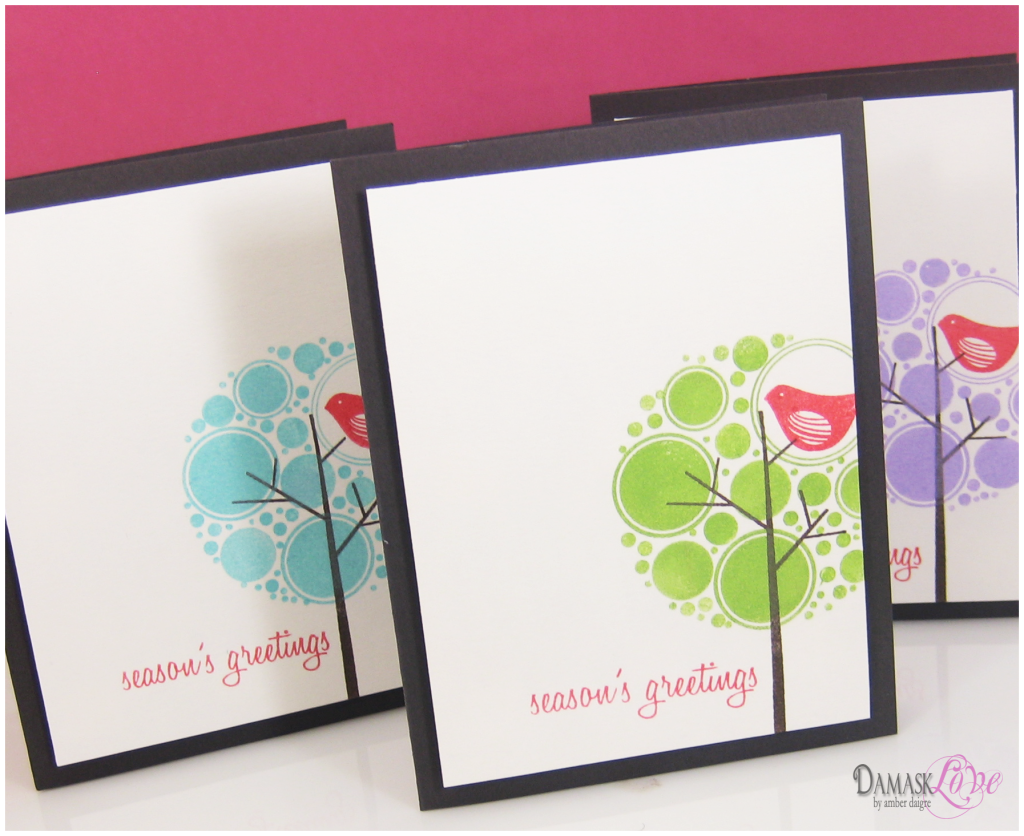
Now, you know how I roll. One card often turns into a set of cards...and that's exactly what happened here. I just stamped the same design with different colors.
If you're interested in how these cards came together, here's a little step-by-step on how I stamped these out:
My first tip for designing cards like this is to reorganize your stamps. Since I have such a penchant for graphic patterns and building designs, I have reorganized my stamps so that all of my circle stamps are together.
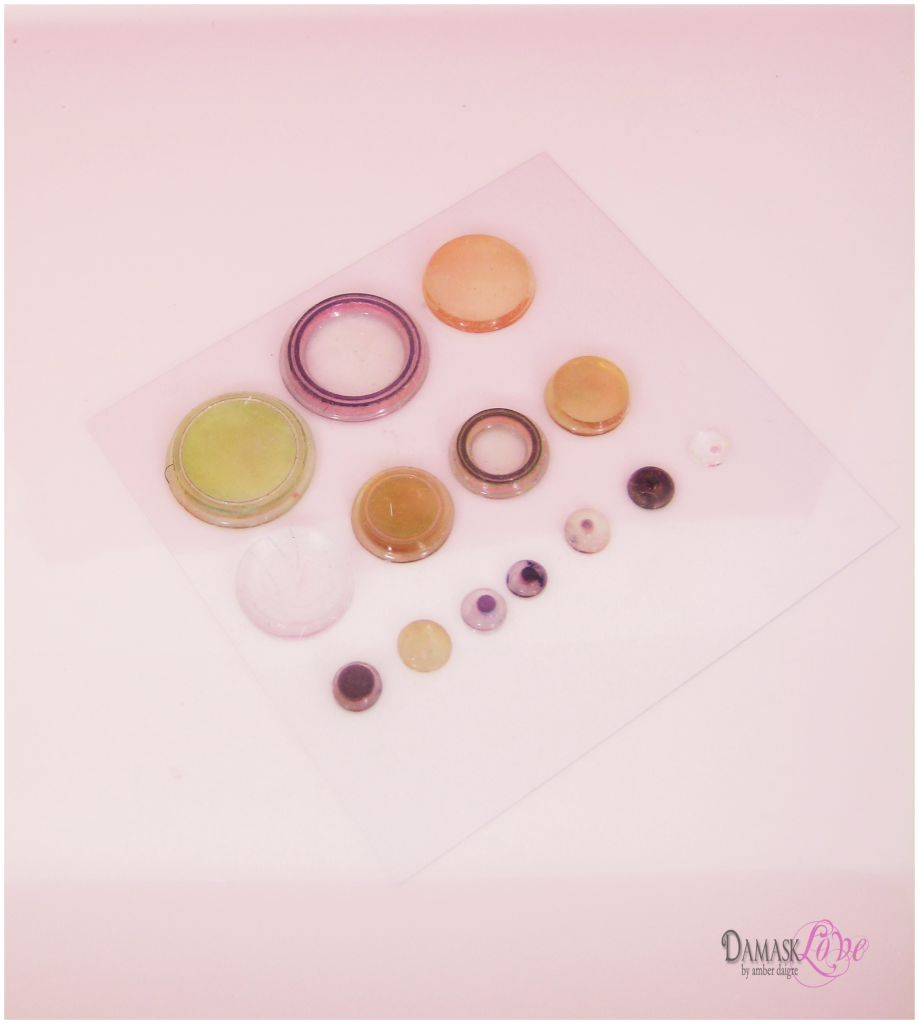
You'd be shocked to find out which unsuspecting stamp sets have little gems like these. And unless I store them in one place, I forget all about them and they never get used.
From my PTI stash, I've hunted down circles of all sizes from some of these sets: Honey Bees, Dot Spot, Simply Stationery, Forest Friends, Christmas Friends, Up, Up & Away, Take a Bough and Fruitful.
I store these stamps in size order, from biggest to teensiest on an acetate sheet.
Of course, depending on how you use your stamps, this approach may not work for you. For me though, and my style of cardmaking, this is a great solution that really helps me access all the stamps I might need for a given design or pattern.
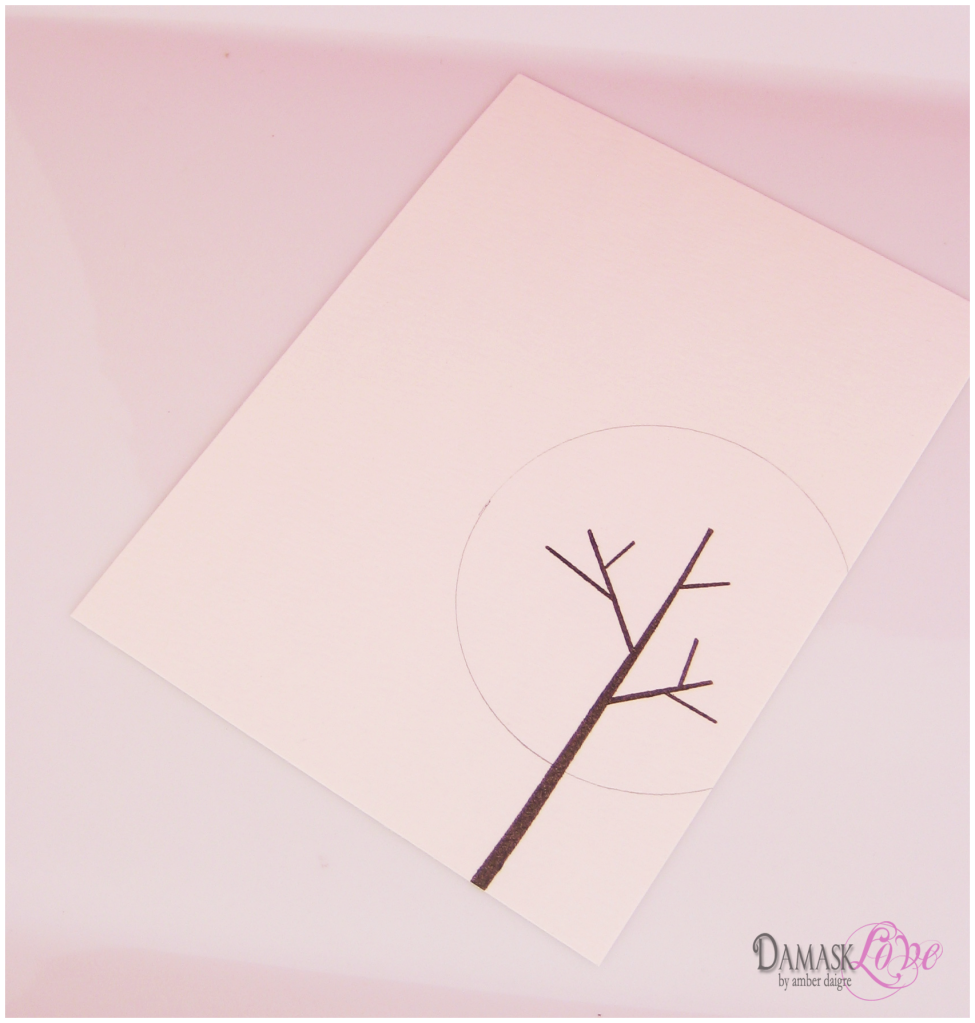
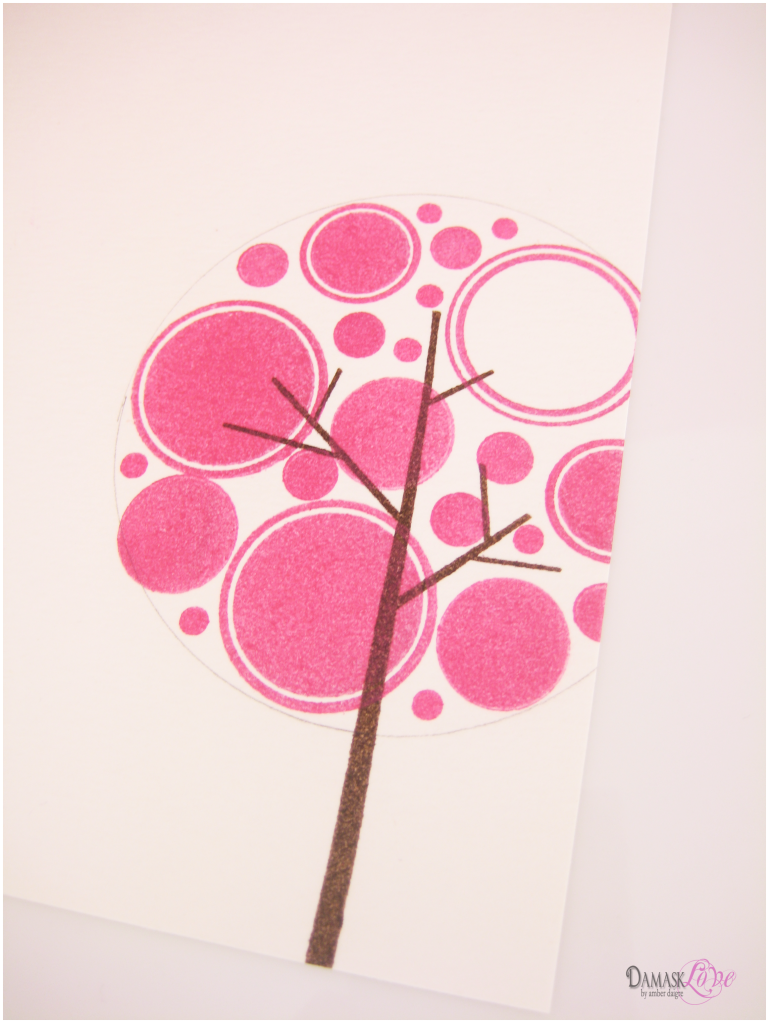
To design this particular set of cards, I started by stamping the branch image from Falling Leaves and traced a circle die to provide a guide for stamping the "tree."
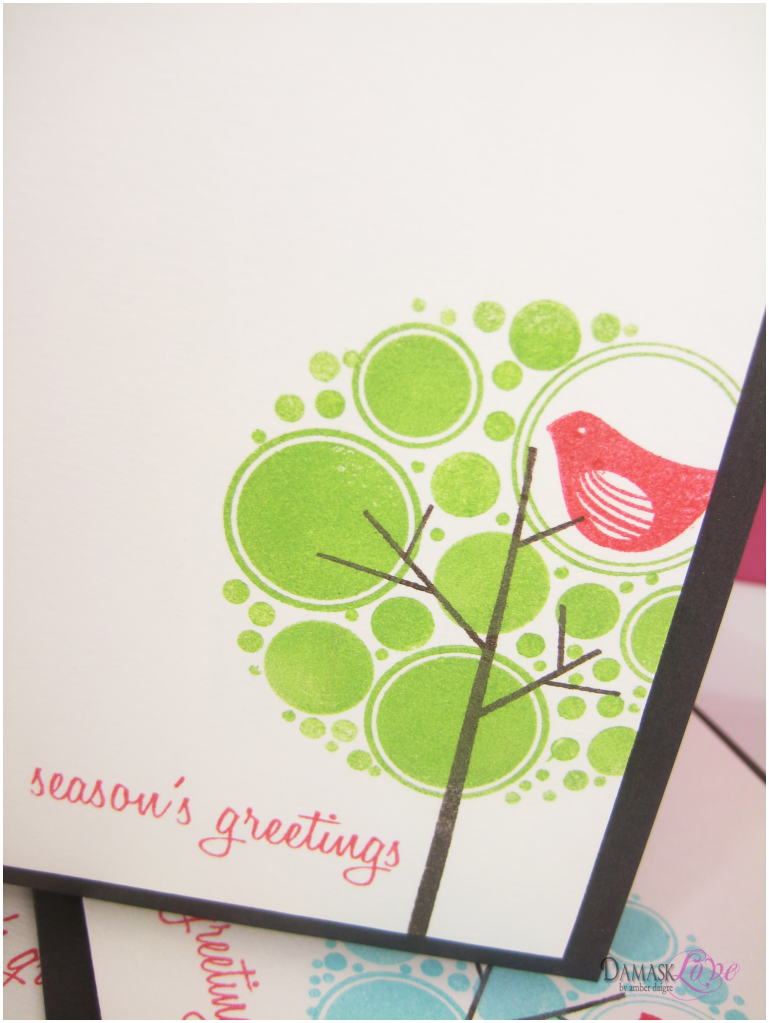
Next, I got inky - starting with the biggest circles...
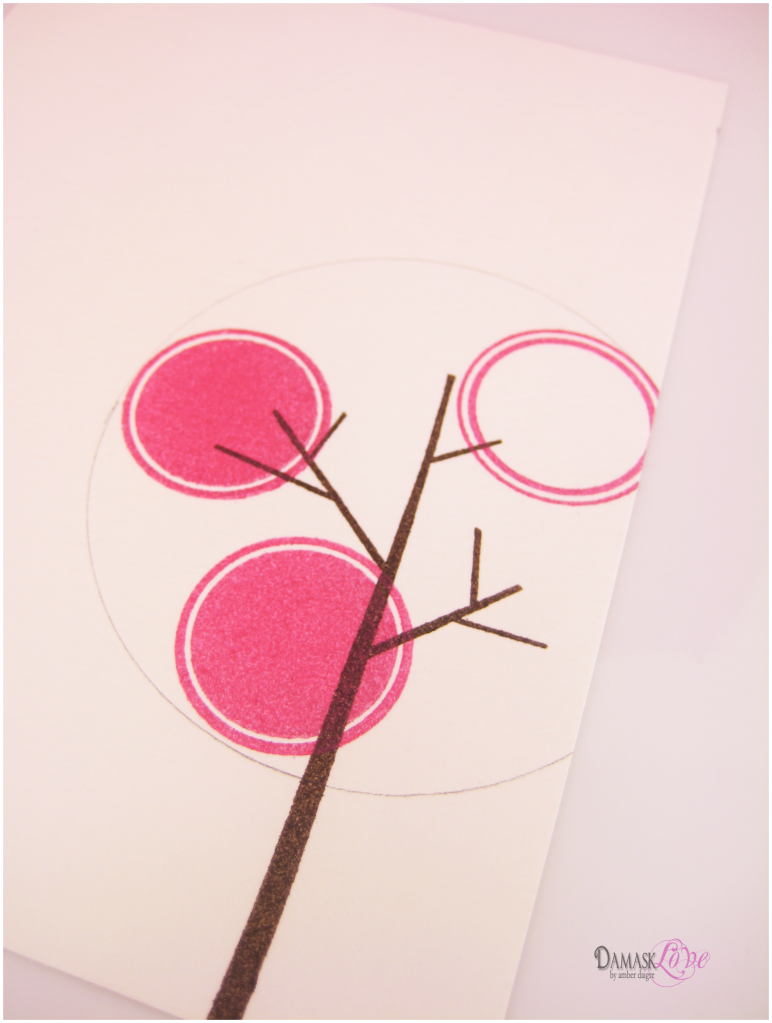
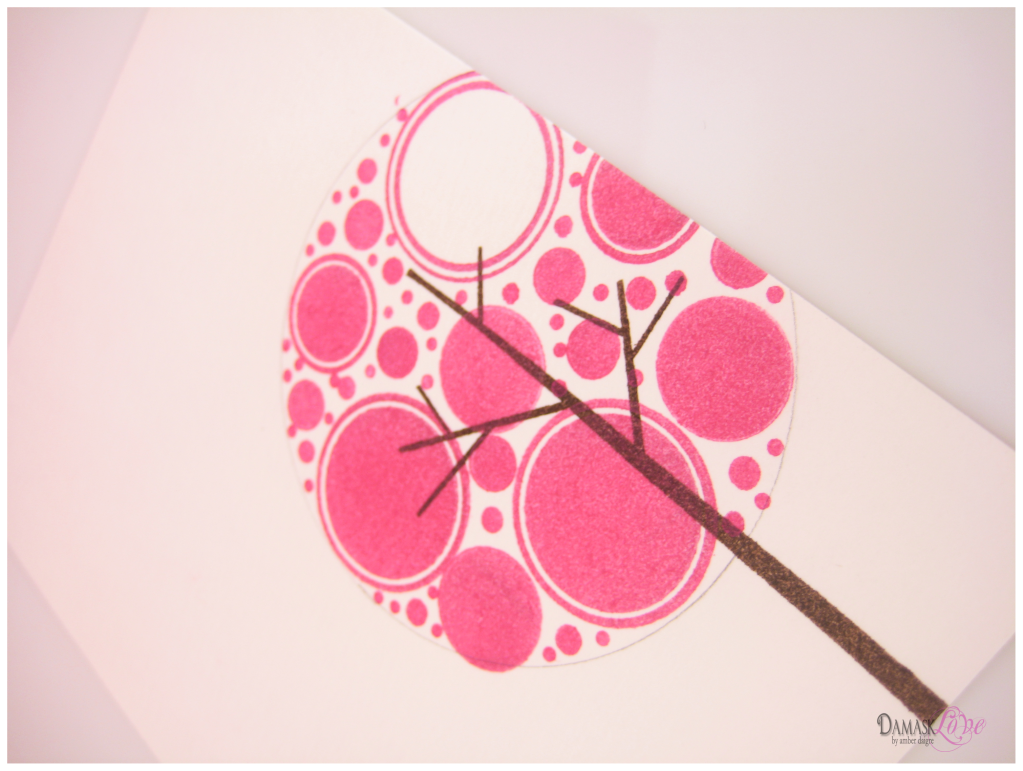
then smaller circles...
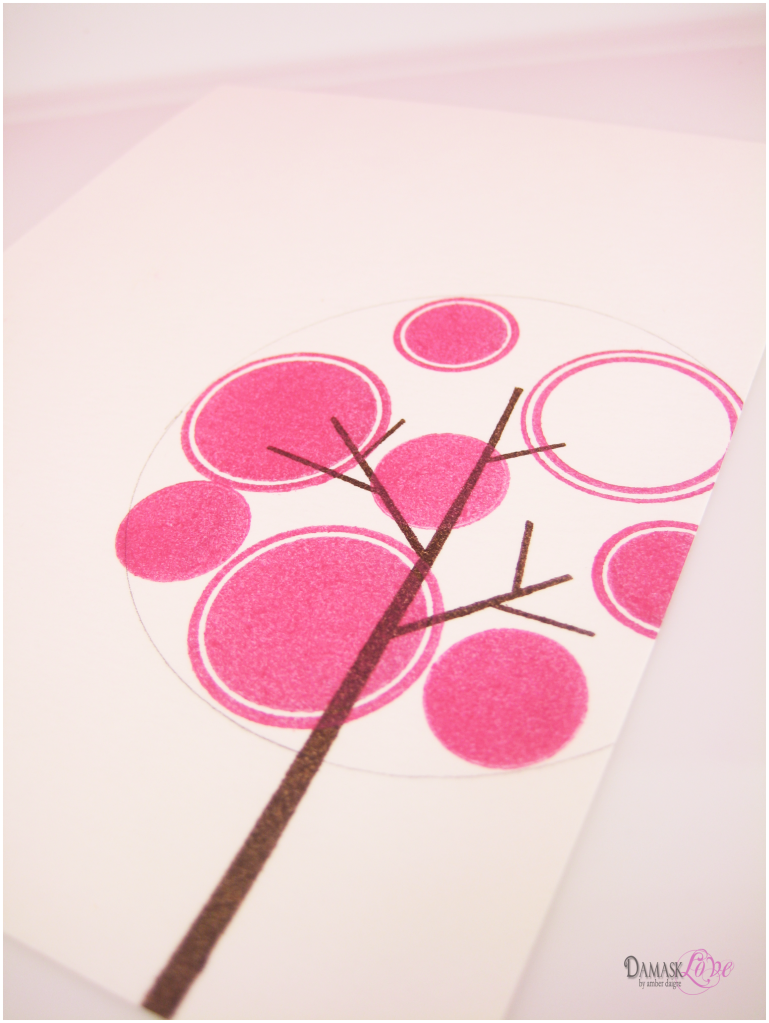
and even smaller circles...
and smaller...
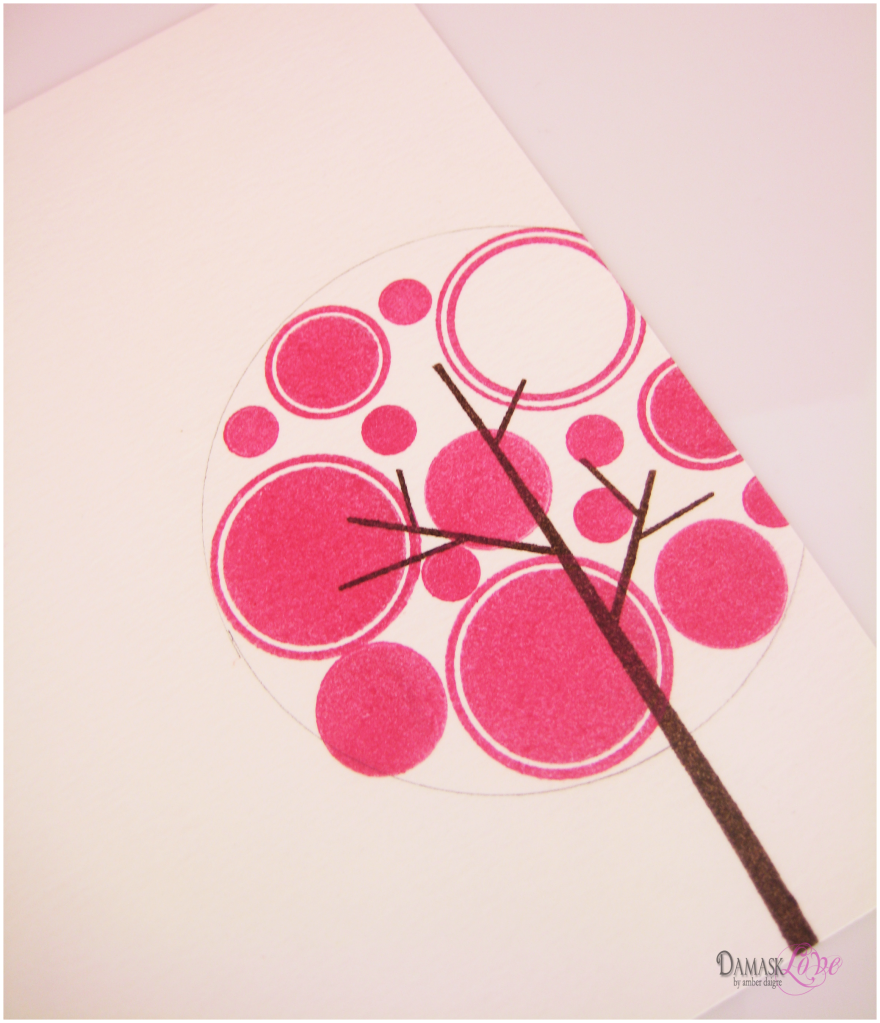
then some teensy little dots!
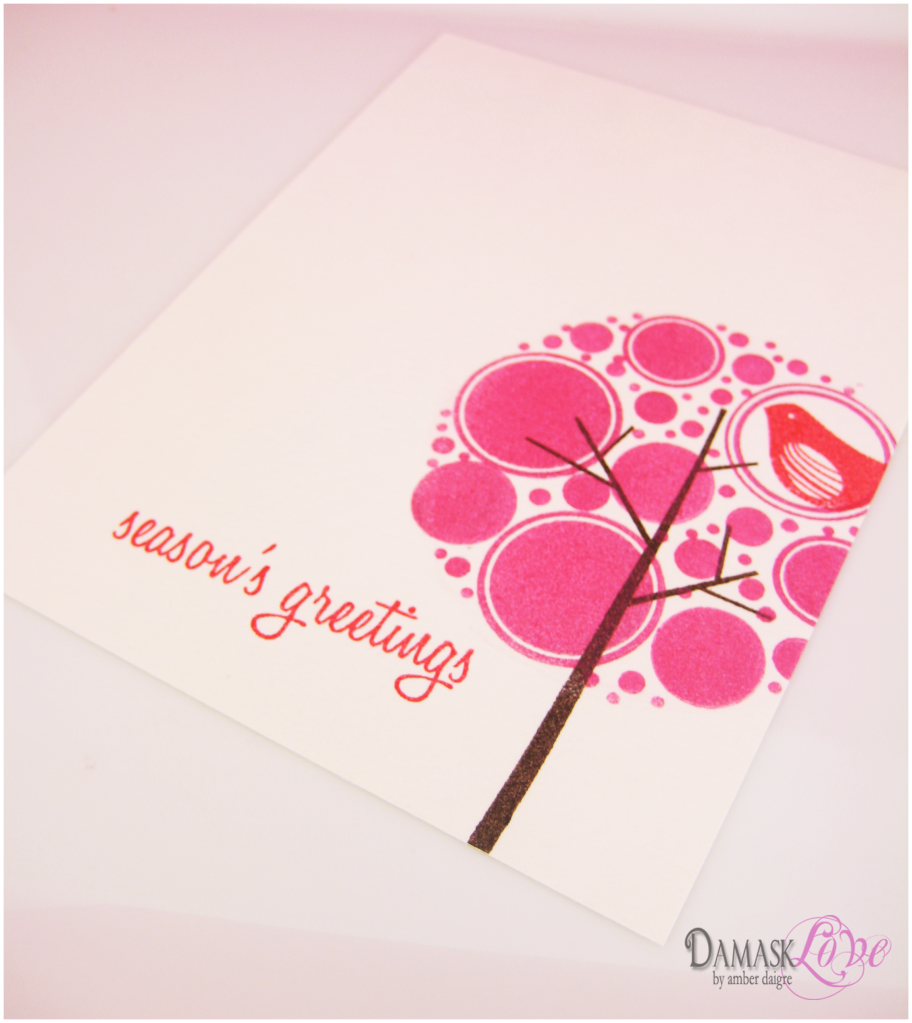
Last, I erased the pencil line, stamped the bird image from Christmas Friends and added a sentiment from Take a Bough!
I hope the photos are helpful and it all makes sense!
Thanks for stopping by for some Damask Love!
Supplies
Stamps: PTI (Assorted circles stamps {see above}, Christmas Friends{bird image}, Take a Bough {sentiment}, Falling Leaves {tree trunk image}
Ink: Impress (Red Current, Chocolate, Silver Lilac, Capri, Mojito)
Paper: 90lb watercolor paper, PTI (Smokey Shadow)
Your blog is very inspiring... lovely creations.
ReplyDeleteThese trees are a fabulous design. It's going to make me look at my stamps in a new light and thanks for the step-by-steps.
ReplyDeleteA few things: First, circlicious! Love these cards. Second, great idea to keep all those little stamps on one sheet. You and I are similar in that we both gravitate toward those little guys, but I never thought to round them up like that. Third, your spaghetti project in Nov/Dec PC? Amazing. Fourth and last, your Kwanzaa card using Modern Basics in Holiday Cards & More? Fab.
ReplyDeleteWow.... a beautiful, easy to mail, holiday card series!
ReplyDeleteI also like to work this way- one card inspires the next, and the next.......
Brilliant post - thanks so much for sharing with us mortals some of your creative process!
ReplyDeleteFabulous designs Amber! I just love sets and yours is no exception! Thanks for sharing your little tuts...I love them!
ReplyDeleteGreat!! I love your style. I can recognize your cards from miles ;) Thanks for the tutorial. Great idea, I will definitively try it.
ReplyDeleteWhat a fabulous technique and tutorial! Your cards are Mah-velous! Sorting my stamps like that would give me a panic attack but I can totally understand the method behind the madness... ;)
ReplyDeleteDon't forget the circles on Beautiful Blooms II if you have it! ;)
What a fantastic technique that you have been used in here ,Great tutorials !!!Your cards looking so stunning especially the stamps i like it ....
ReplyDeleteplastic card ideas
Fab.U.Lous!!!! I love that mod partridge in a pear tree! Now, when you organize your stamps like that, how do you keep track of what circle came from what set? Storing them that way makes perfect sense, but the thought of breaking up my stamp set and not knowing what came from where skeers me a little!
ReplyDeleteFantastic note card set Amber! I LOVE the mod tree!
ReplyDeletethis is genius!!! I love it!
ReplyDeleteLove this technique! I too have tons of circles that go unused. probably lots of other shapes too. thanks for a great idea.
ReplyDeleteFabulous card!!
ReplyDeleteThese are amazing. I thought it was one stamp..very clever of you. Thank you for the how to. I'm off to see what kind of cirle stamps I can come up with.
ReplyDeleteAs always - Fabulous cards!! Thanks for the step by step instructions, you are such an inspiration.
ReplyDeleteThanks for the tutorial. I love this design, and it can be used for all seasons. Great inspiration here.
ReplyDeleteThat is a kick @ss Christmas card!
ReplyDeleteThanks so much for joining the Embellish challenge.
The end.