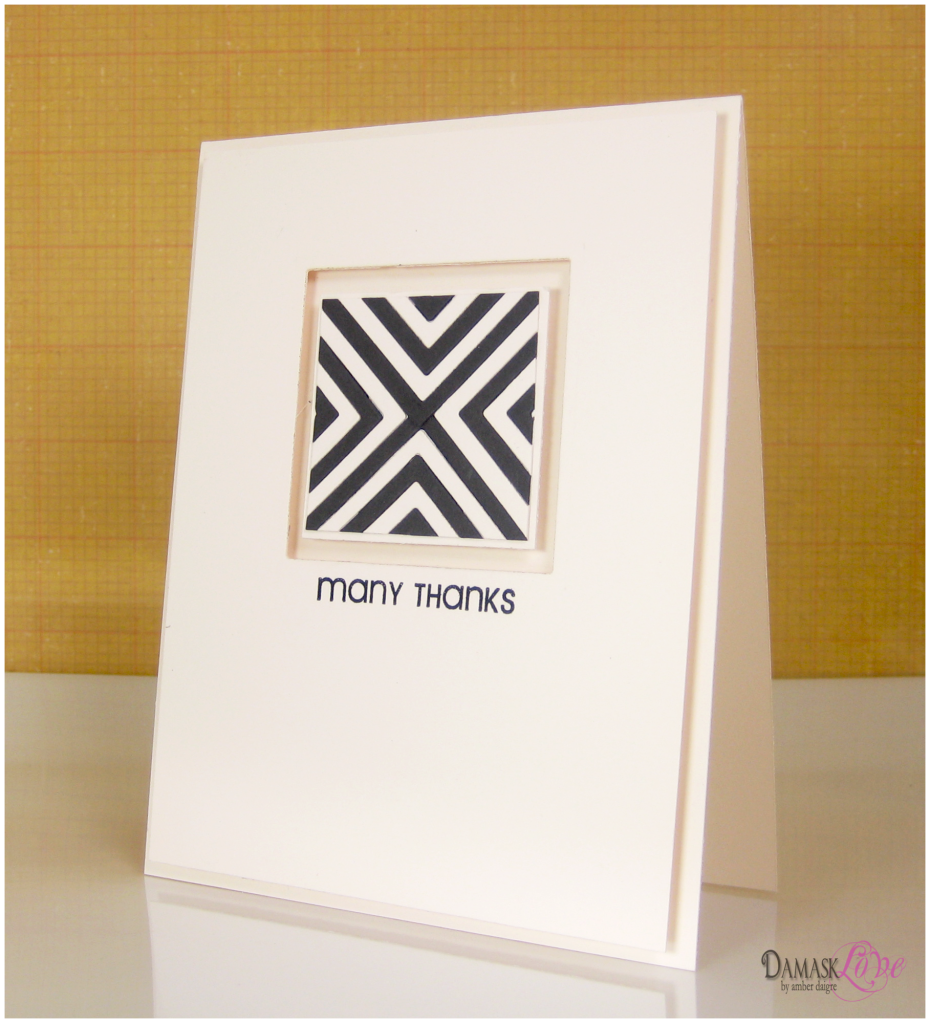
Chevrons are so trendy right now. I love the modern look of them. So, I thought I'd give a new look to chevrons by arranging them a little differently.
I came up with this super simple yet visually interesting layout:
and, in case you're interested, here's some photos of how this pattern came together:
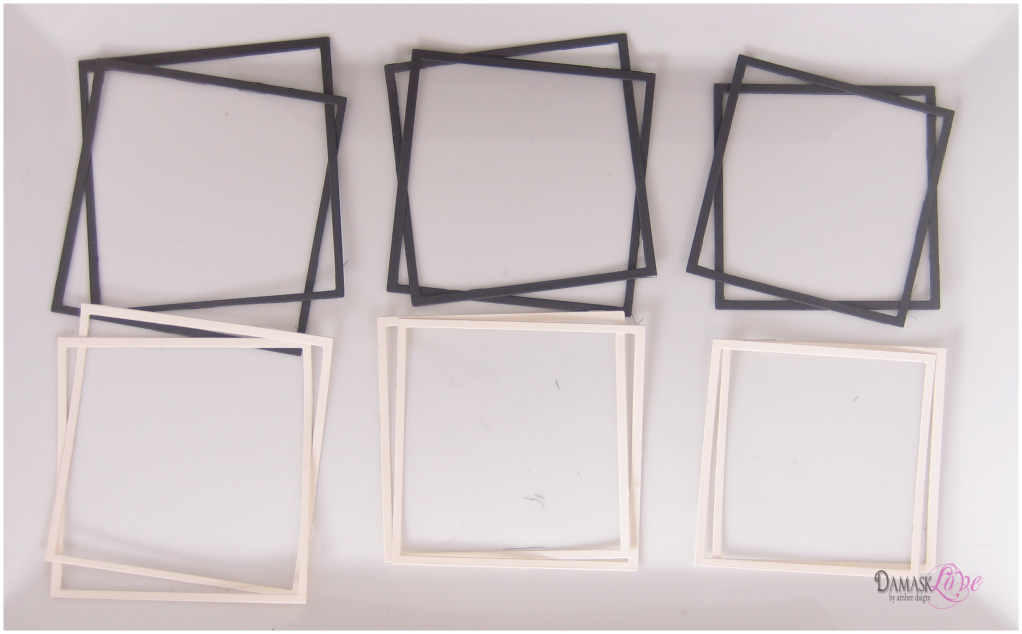
First, I die used my Spellbinder's Square dies, so cut out square frames that were 1/4" in width. You'll want to die cut two of each size frame.
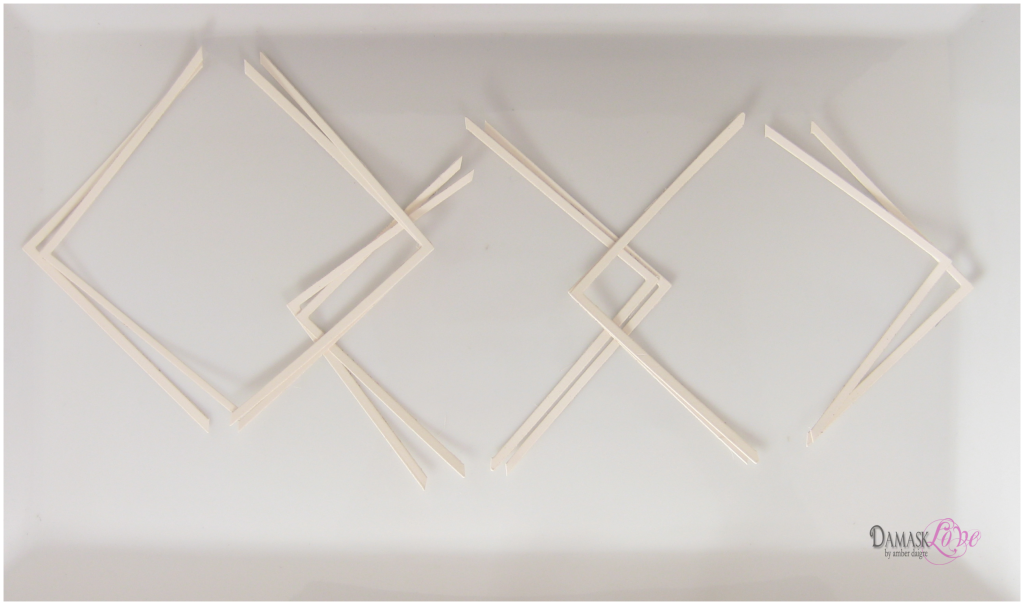
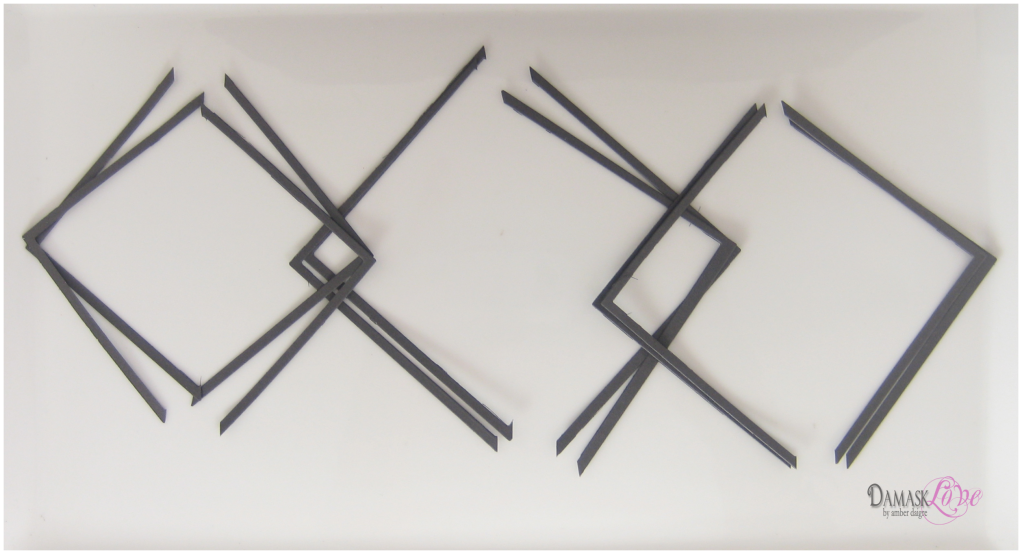
Next, I cut the frames in half at the corners
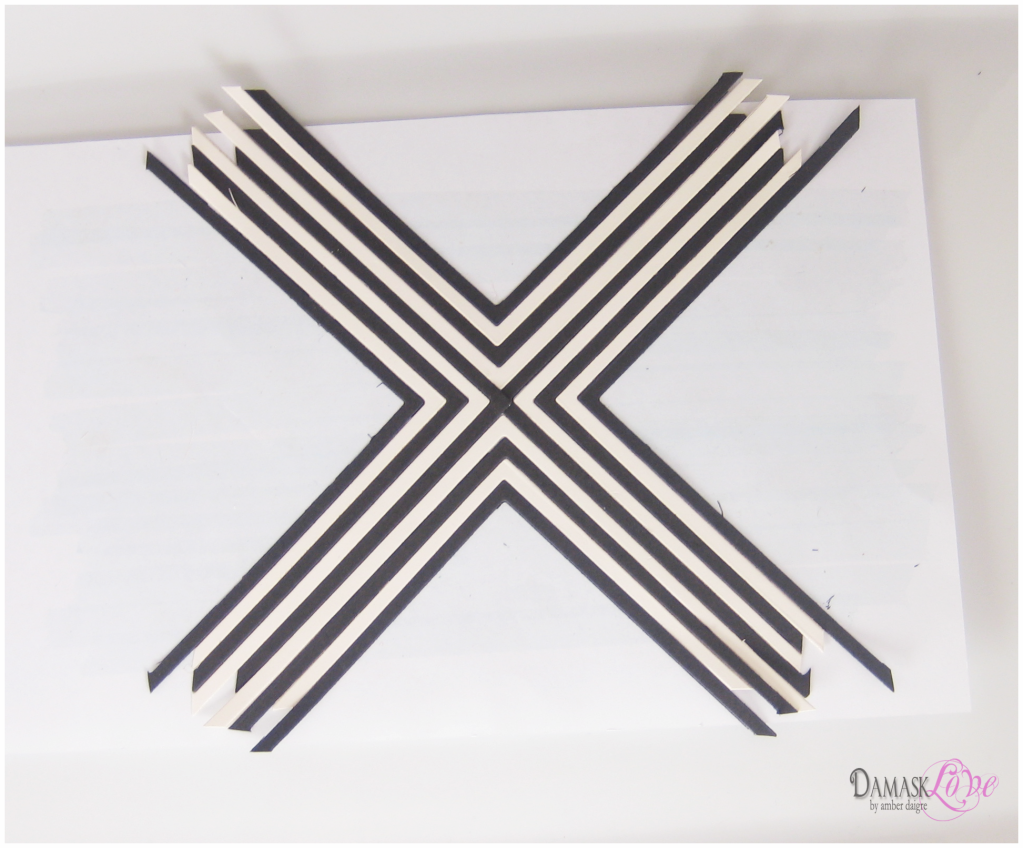
Then, I adhered them to a sheet of white paper as shown.
Trim the pattern down and you're all done. Simple, right?!
I'm loving the simplicity of this pattern and layout! Hope you like it too!
Thanks for stopping by for some Damask Love!
Supplies:
Stamps: PTI (Fillable Frames #1, Inside & Out: Thank You)
Ink: Impress Ink (Fig), Ranger Archival Ink (Jet Black)
Paper: PTI (Rustic White, Vintage Cream, Berry Sorbet, Smokey Shadow)
Other: Spellbinders Square Dies
BRILLIANT!!!
ReplyDeleteGenius! Thanks for the how to's too. I'm feeling so inspired. The b&w one really does it for me. Wow!
ReplyDeleteBeautiful and creative cards, Amber. I like how your mind thinks.
ReplyDeleteAmber , this is so inspiring - thank you!
ReplyDeleteAAAAAAAh!!!!! Love so much!!!!!!
ReplyDeleteAha!! You are so smart!! I wish I would've thought of that...duh! They are great and now I simply must do some. Thanks a lot.
ReplyDeleteHugz2u,
Sharon
Very striking and clever card! Thanks for the inspiration and the
ReplyDeletestep by step tutorial.
Wow! Brilliant work, Amber!
ReplyDeleteHi Amber, your Chevron cards are fabulous!
ReplyDeleteThey look awesome Amber! That creative mind of yours has done it again!
ReplyDeleteLOVE the ideas that go swimming around in your head!!! Thanks for sharing with the rest of us!!
ReplyDeletethis is so gorgeous..thanks for sharing:)
ReplyDeletewow! These are amazing! They look like so much work! thanks for the tut!
ReplyDeleteJust awesome :)
ReplyDeleteJenny x
me love, me love, me love!!! you're a GENIUS!!!
ReplyDeleteWOW .... I loooove these ...fabulous in every way!!!
ReplyDeleteI know you did this months ago but I just came across it and wanted to tell you not only how cool I think the design is, but now much I appreciate that you put in the photos and directions for making the design. This is one I really want to try. I love the look!
ReplyDelete