**Today's a double header - so check out both posts!**
---
One thing I love about papercrafting is how it brings me back to the kinds of projects I did in elementary school as a kid. I loved art class and I loved that I could be crafty and creative during an otherwise mundane school day.
---
One thing I love about papercrafting is how it brings me back to the kinds of projects I did in elementary school as a kid. I loved art class and I loved that I could be crafty and creative during an otherwise mundane school day.
Every once in a while, I like to think back on those elementary school art projects and revamp them - with my current, more mature perspective.
Earlier this week I was struck with inspiration that was a total throwback.
Maile Belles designed this ultra cute tag which caught my attention.

I love the simplicity of it and immediately a project was brewing in my head.
The image reminded me of those paper pinwheels I made as a kid. The kind that you fastened to a plastic straw with a brad. The kind that you could blow and make spin. The kind that would never work for me and I would end up dizzy just trying to get the darn thing to turn - just a quarter turn!
Well, anyway - Maile's image inspired me to revive the paper pinwheel.
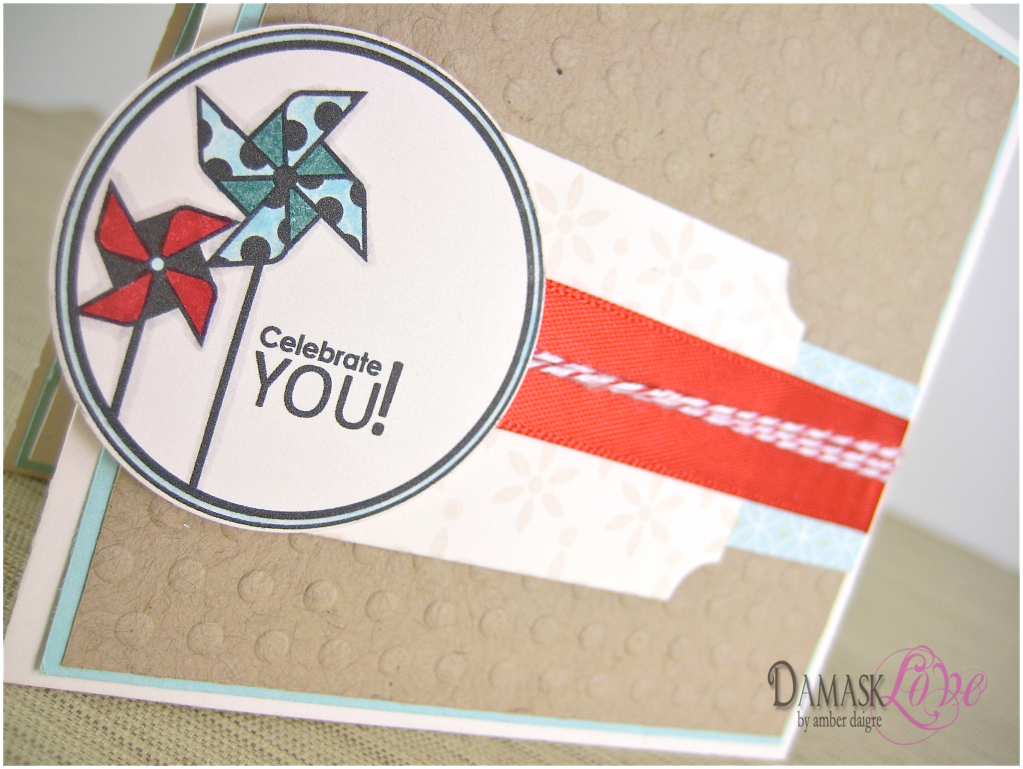
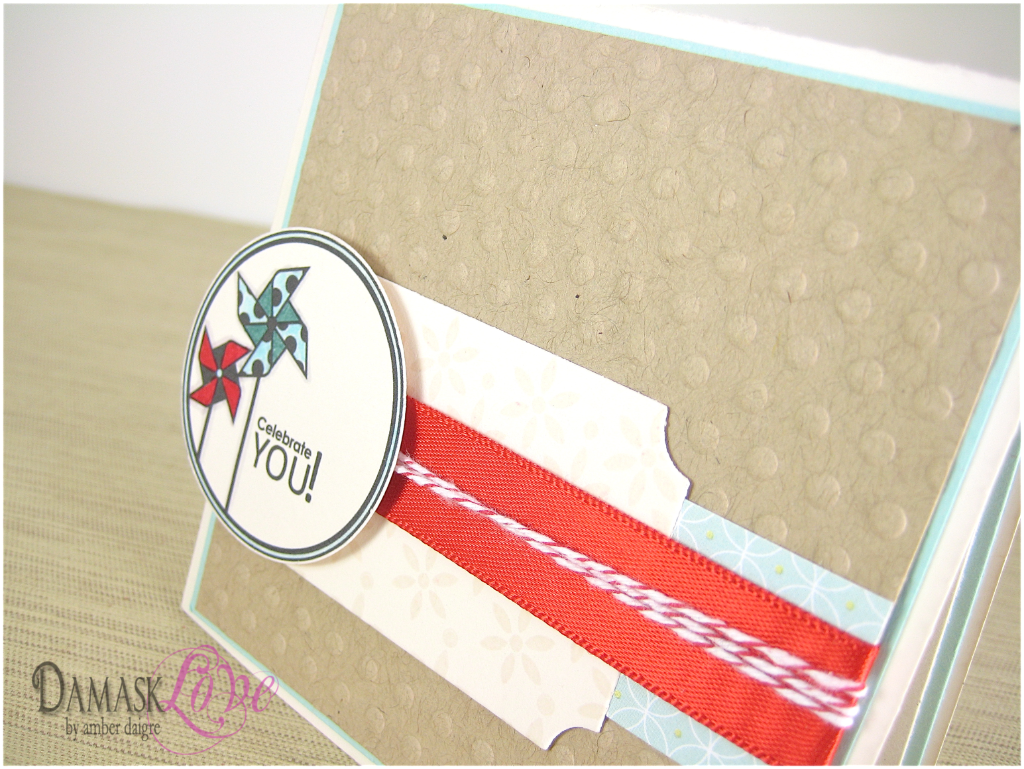
First I made a super simple card using Maile's design.
Next I tackled those pinwheels!
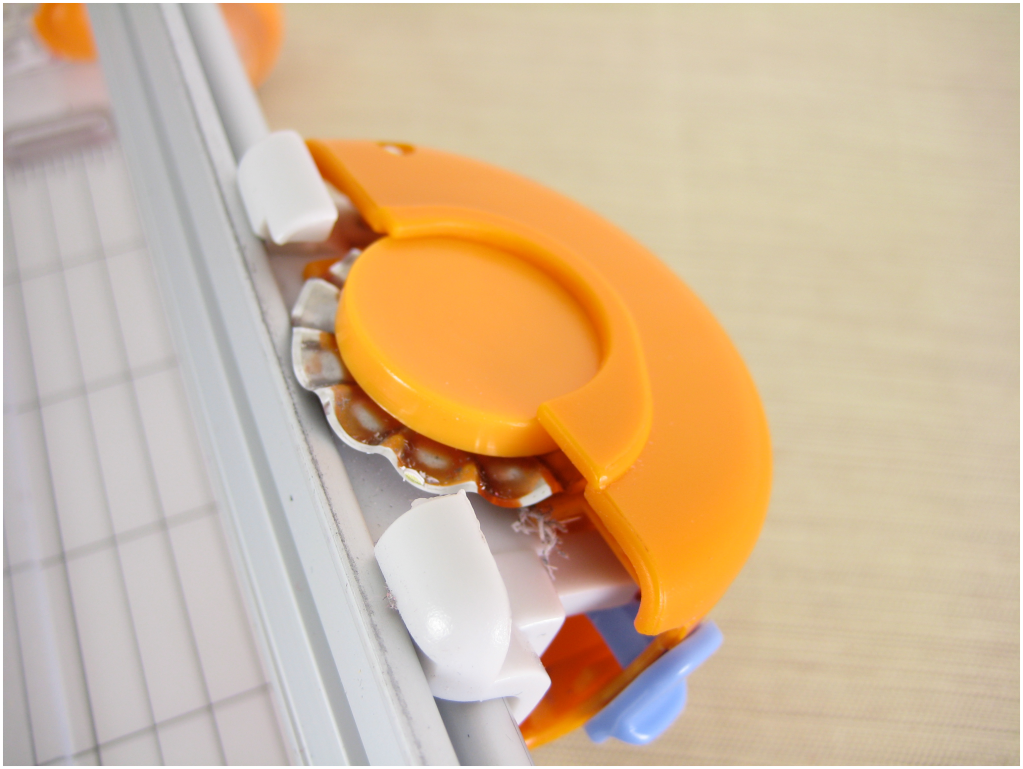
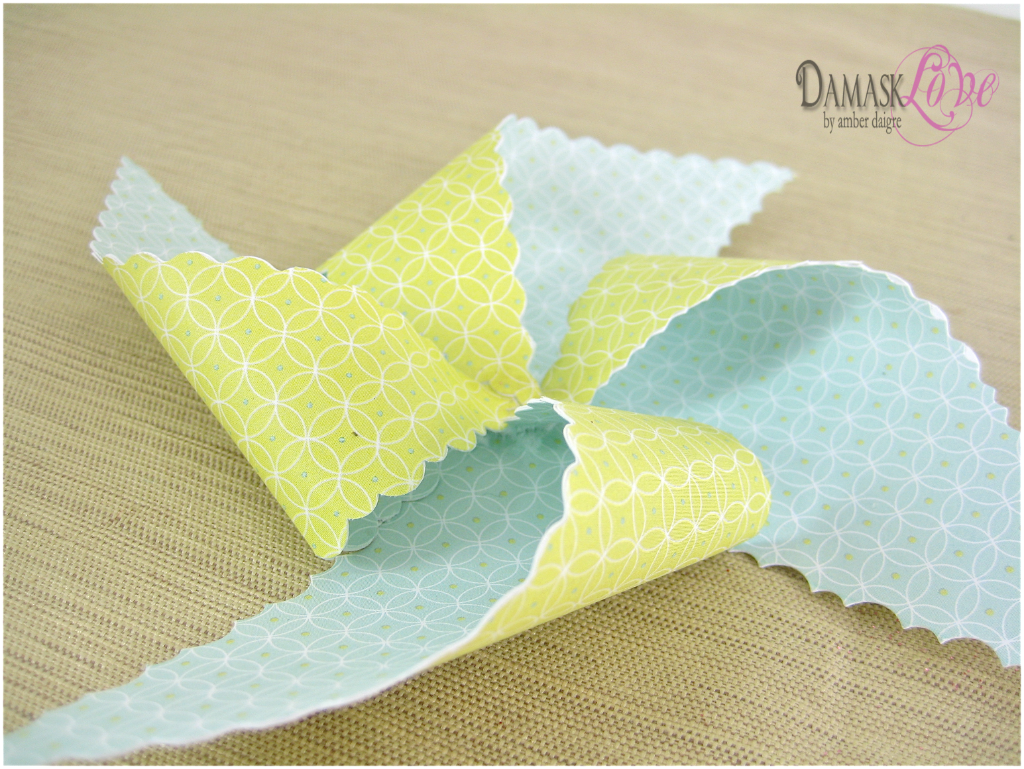
I broke out the scalloped blade for my Fiskar's rotary paper trimmer. This was my first time using the scalloped blade and I love the results.
Next, I cut out squares (3", 4" and 5") and scored them on the diagonal.
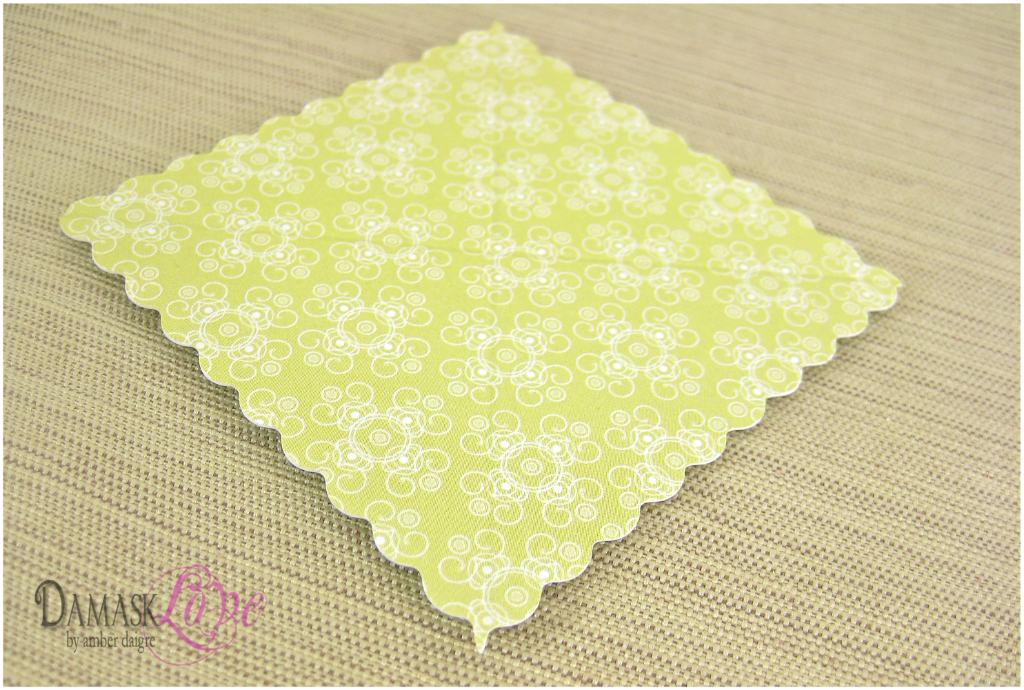
Then I used my scalloped scissors to cut on the diagonal scores - stopping just shy of the middle of the square.

Then I simply adhered every other corner to the center of the square. Zots worked GREAT for this - those things are so sticky!!
FANCY TIME!
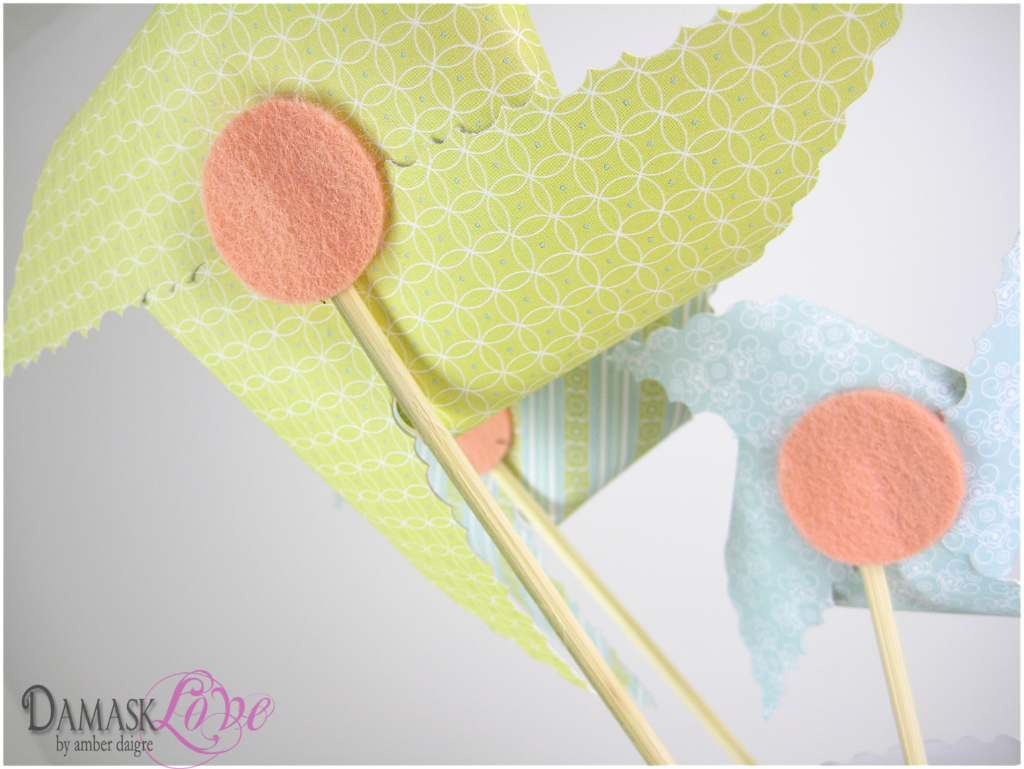
I decorated the pinwheel centers with buttons and used skewers for the bottoms of the pinwheels. I used a sweet little circle of Melon Berry felt to adhere the skewer. I love that pop of color.
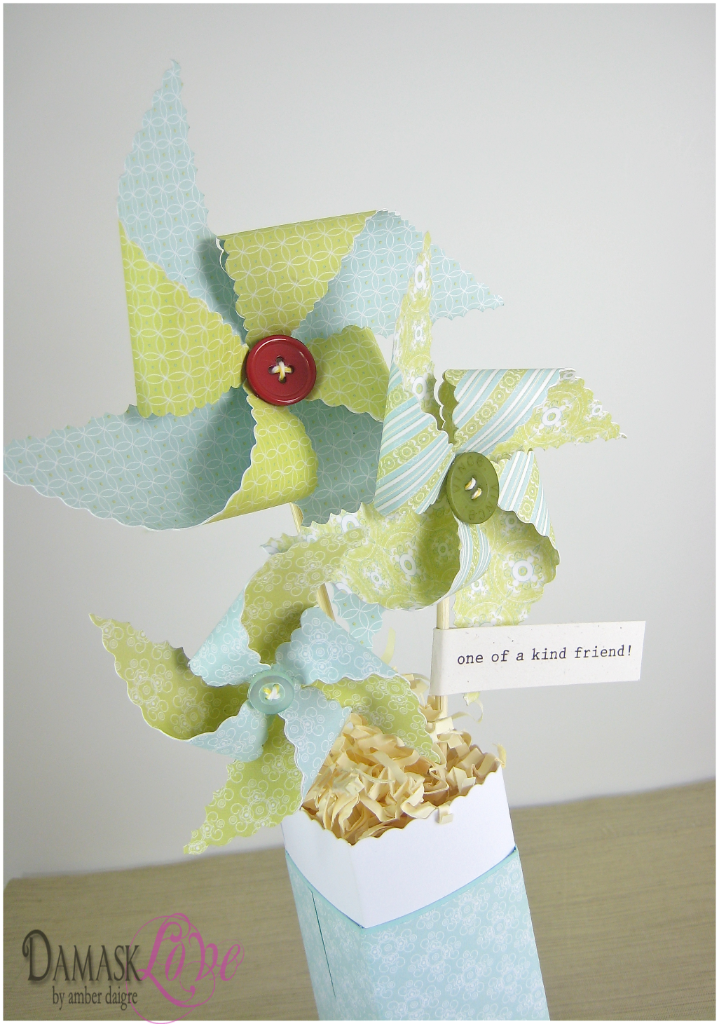
From here the possibilities are endless for how you can use this cute little bouquet of pinwheels.
- use a mini clothespin to attach a picture of you and a special friend
- add a wire photo holder
- attach flags to each pinwheel with handwritten notes about why you appreciate the gift recipient
- fill the base container with candy
- use as centerpieces for a child's birthday party
- instead of skewers, use Pixie Sticks!
- instead of buttons, use Hershey's Kisses
- use a single pinwheel as an accent in a floral arrangement
...I could go on and on ...you get the idea!
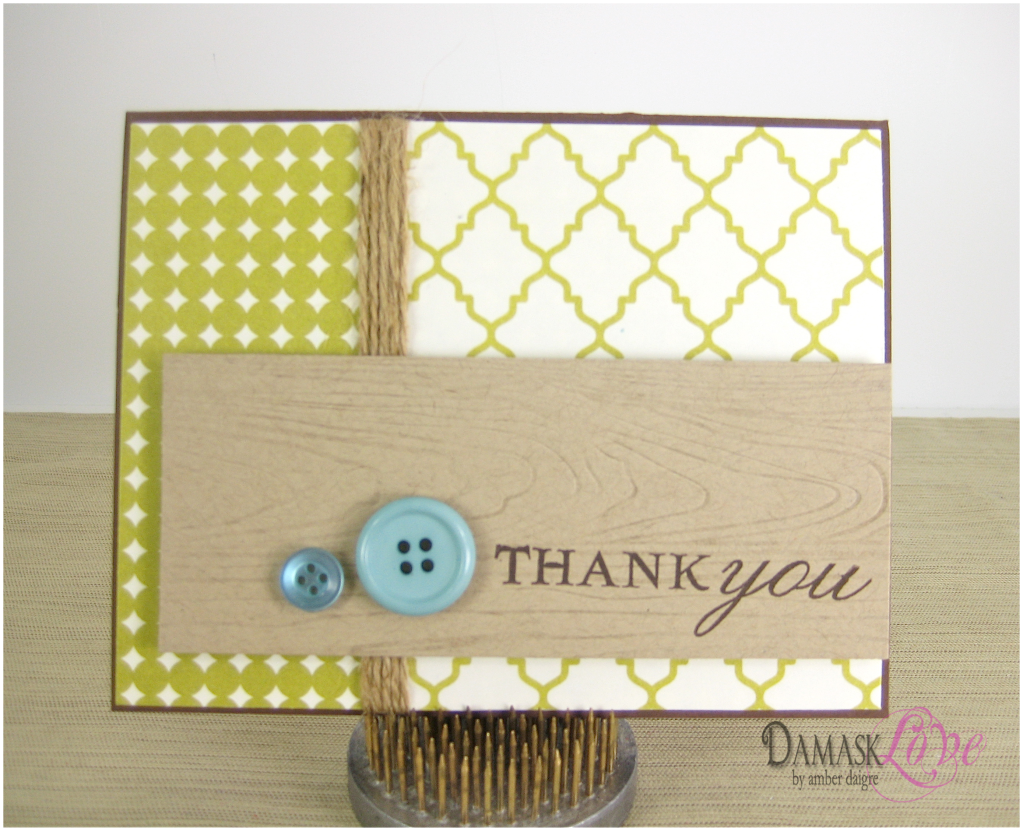
Now for the BONUS!
I challenged myself again with colors that I typically do not pair together.
Here's the result...let me know what you think.
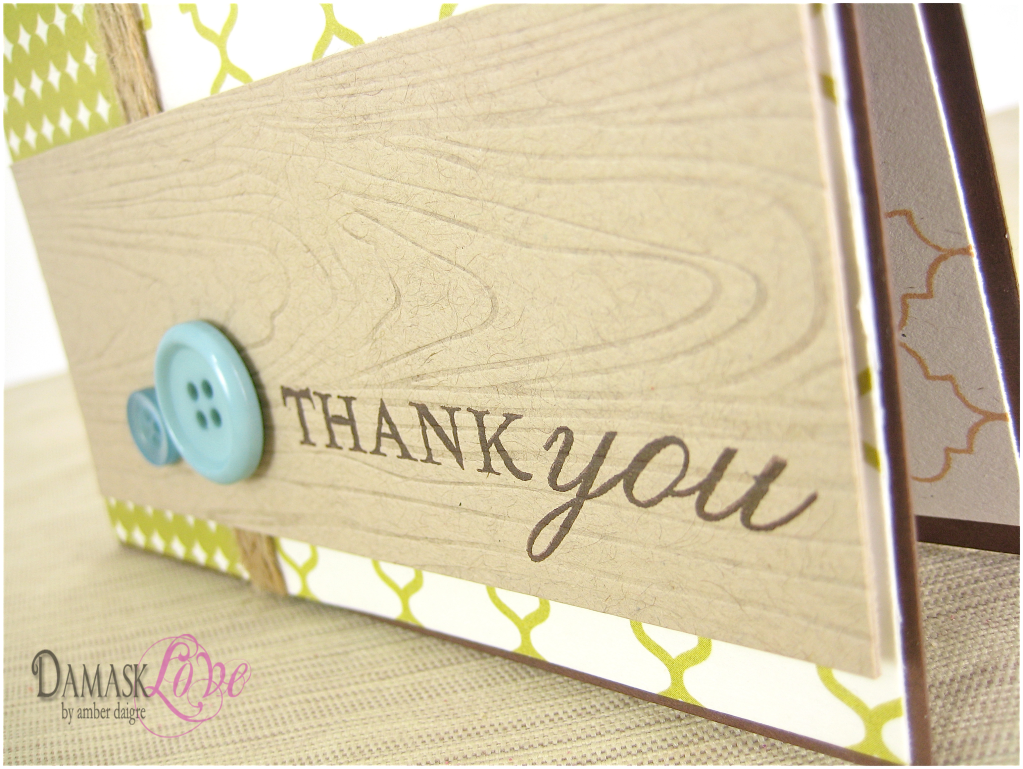
I kept it simple with a few touches of style - I love that woodgrain impression!
Also - I opted to not weave twine through the button holes - I think it creates more of a minimalist feel.
Supplies (All Papertrey Ink unless otherwise noted):
Pinwheel Card:
Stamps: Background Basics: Tin Types
Paper: Aqua Mist, Vintage Cream, Kraft, Baby Blessing patterned paper
Ink: Versamark
Other: Cuttlebug Polka Dot embossing folder, Martha Stewart's Bakers Twine, Pure Poppy satin ribbon, Tombow Watercolor Markers
Paper Pinwheels:
Stamps: none
Paper: Baby Blessing patterned paper, Stamper's Select white cardstock, Aqua Mist cardstock
Ink: none
Other: Fiskar's Rotary Paper Trimmer, Fiskar's Scallop Blade, Zots, Holiday Button Mix, skewers, Melon Berry felt
Retro Background Thank You:
Stamps: Giga Guidelines
Paper: Dark Chocolate, Kraft, patterned paper (manufacturer unknown)
Ink: Dark Chocolate
Other: Woodgrain Impression Plate, Holiday Mix buttons, packing twine (manufacturer unknown)
Amber,
ReplyDeleteYou are so creative. I love your pinwheel bouquet and all the ideas you generated .
I remember those fun days! Amazing creations and I love the fun edge on the life sized pinwheels!
ReplyDeleteI love the button centers on the pinwheels. What a fun idea to create and then use for teaching deep breathing for child therapy clients, Dr. Amber!
ReplyDeleteCute stuff! I really like the pinwheel bouquet.
ReplyDelete