One of my 2011 New Year's Resolutions is to send out handmade birthday cards to all of my friends and family. And get this - I'm planning to do it IN TIME for their birthdays. I am notorious for giving Christmas/Birthday combo gifts to people whose birthdays are in May! It is not a cute habit, and I'm bound and determined to do away with it in 2011!
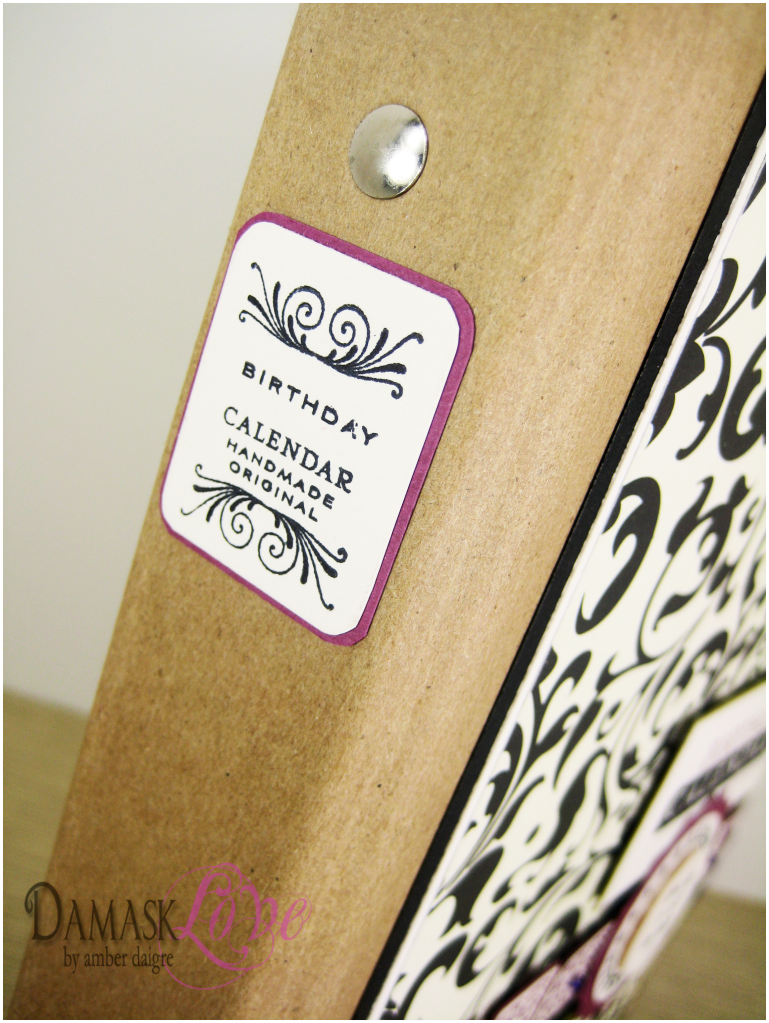
Enter: The Birthday Binder: A place to record birthdays and organize cards for mailing.
I am certainly not the first to do this project, but I am excited to share my own Damask Love interpretation!
The kraft binder from Papertrey is the perfect blank canvas for this project. I ordered one way back in November and we've been having quite the stare-down for the last two months. The possibilities for decorating it are endless, which worked me into a bit of an anxious-crafty-tizzy. Finally, it was time to conquer the kraft binder - and here's what happened...
I added some bright colors and of course, some damask-inspired paper to the front of the binder, transforming it from paper-bag-drab to swirly-girly-goodness! I'm really happy with the result - it's right up my alley!
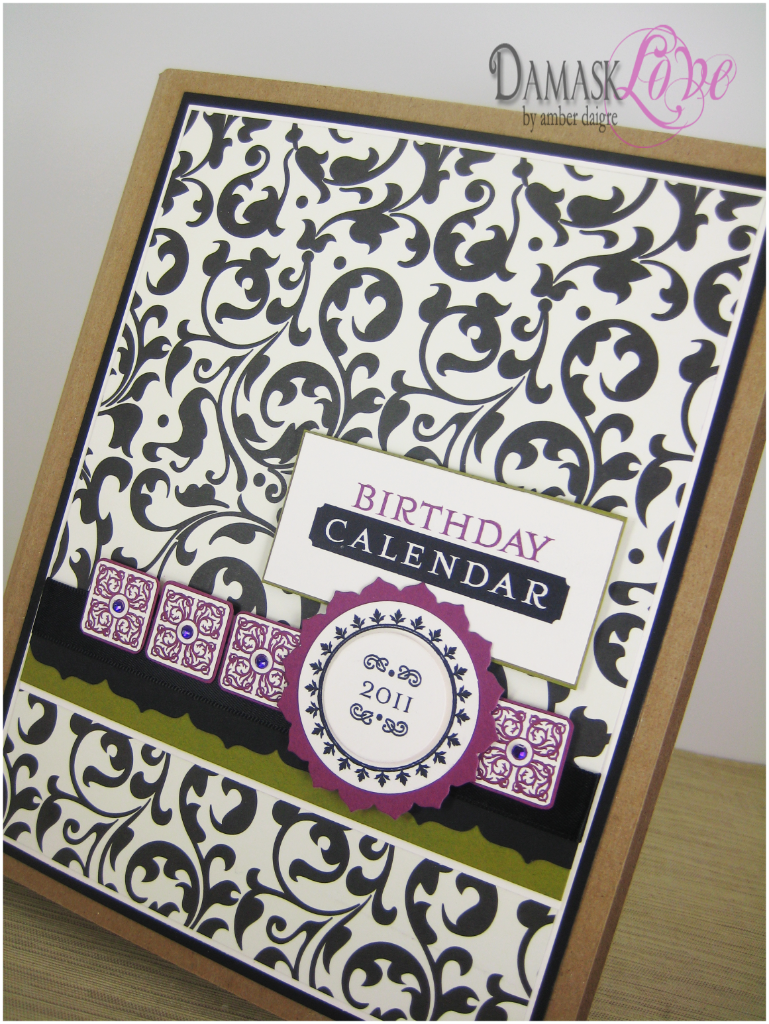
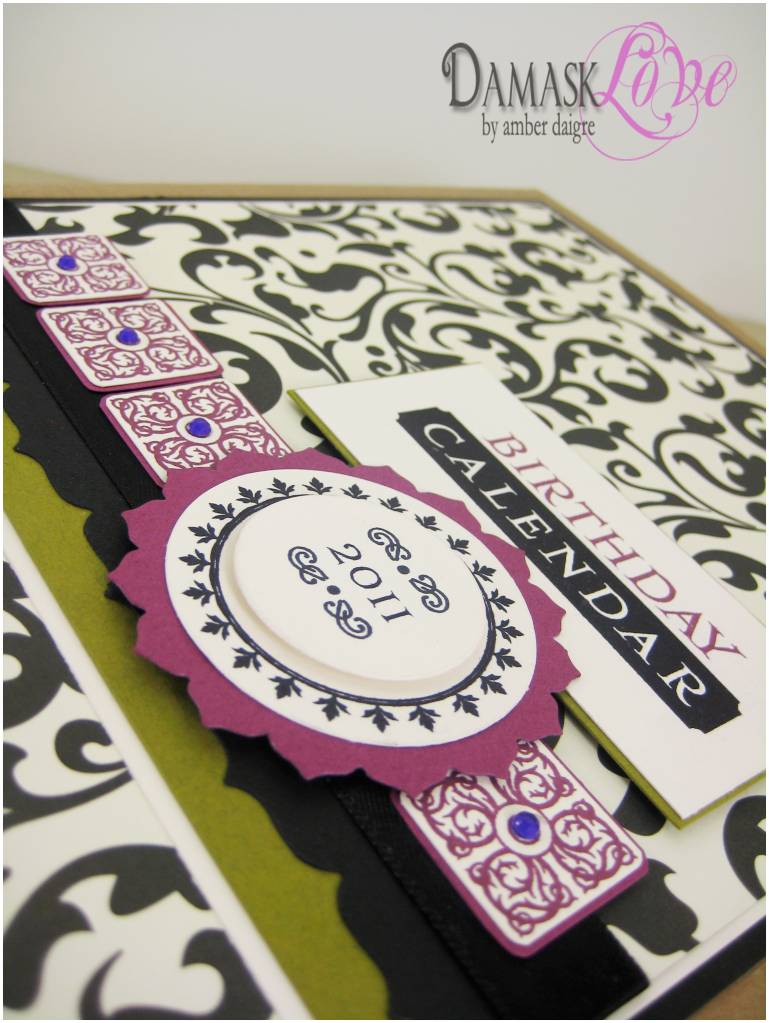
I used quite a few PTI stamps including Guide Lines for those decorative squares that are on either side of the "2011" label. I also paired the "Birthday" sentiment from Giga Guide Lines with the "Calendar" label from Calendar Basics. I thought the sizing of these words worked really well together.
Now that you've seen the front - just wait 'til you see all the fun going on inside!!
(No, seriously - you'll have to wait until tomorrow to see it:-).
Until then, thanks for stopping by and have a great day!
Supplies: (All Papertrey Ink unless otherwise noted)
Paper: K&Company Black and Ivory Fusion Designer Paper Pad, Ripe Avocado cardstock
Stamps: Calendar Basics, Guide Lines, Giga Guide Lines, Everyday Treats, Faux Ribbon
Ink: True Black, Stampin' Up Rich Razzleberry
Other: Kraft binder, Limitless Labels dies, purple rhinestones
Gasp-worthy! It looks wonderful! :)
ReplyDeleteI was so excited to check your blog this morning to see what you had in store for us today. Absolutely gorgeous and such a great way to stay organized!
ReplyDeleteOoohhhh, I love how the front turned out! Can't wait to see what is inside!! :)
ReplyDeleteI enjoyed this post.
ReplyDeleteThis is a GORGEOUS birthday calendar- love those rich colors (I really need to make one of these)!
ReplyDeleteStunning. And I have 2 to decorate!!
ReplyDeleteLove this!!! It came out wonderfully!
ReplyDelete